|
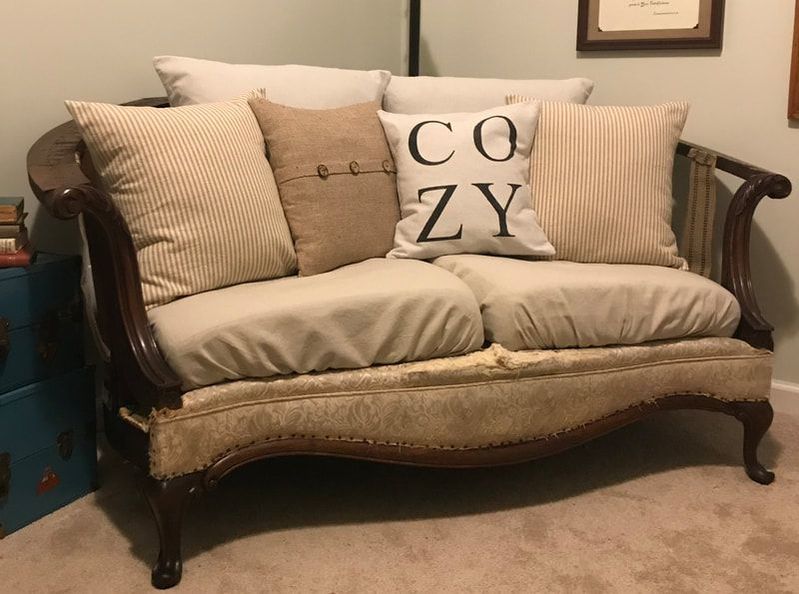
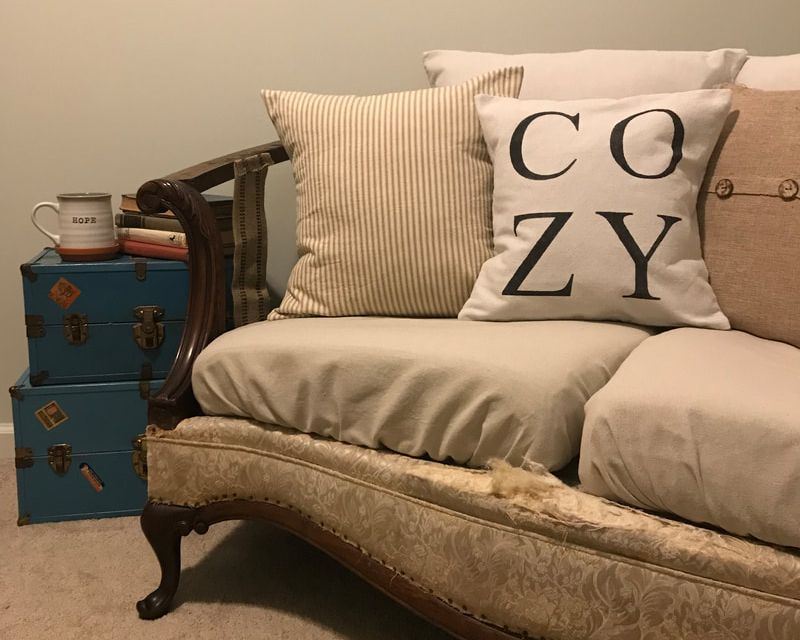
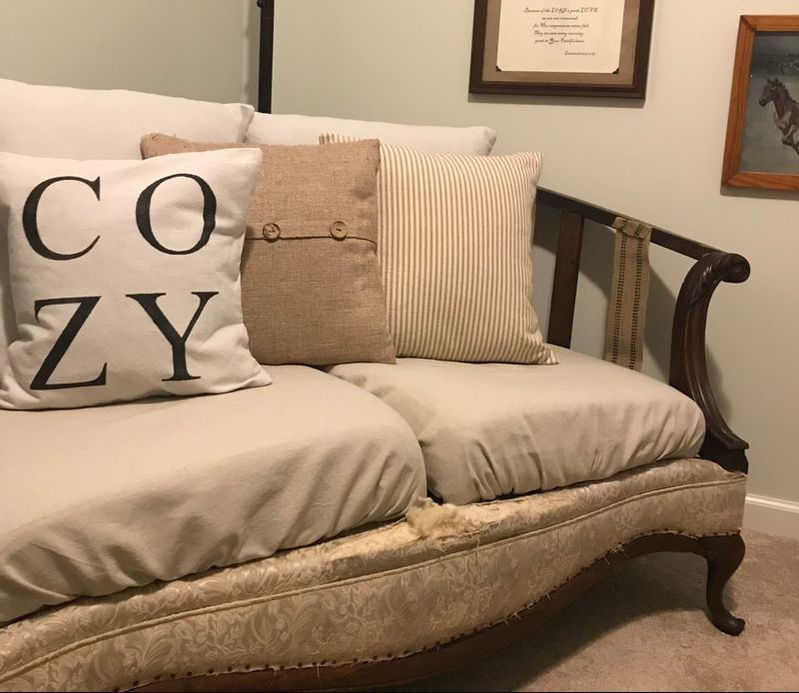
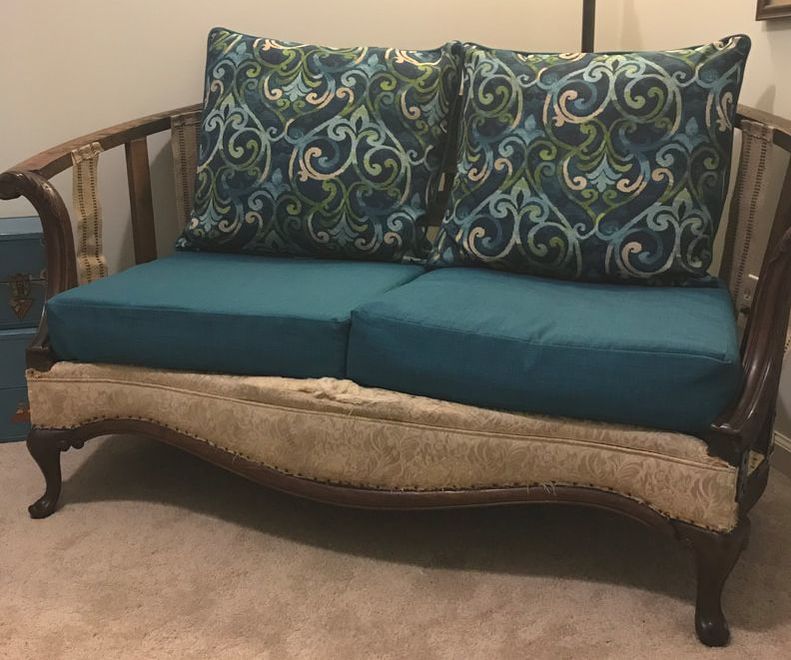
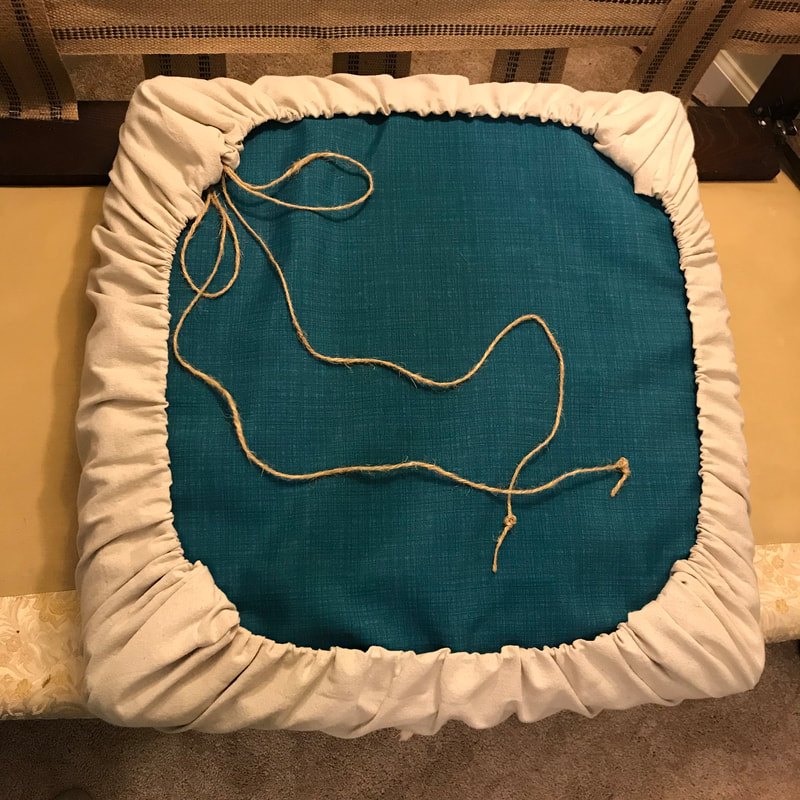
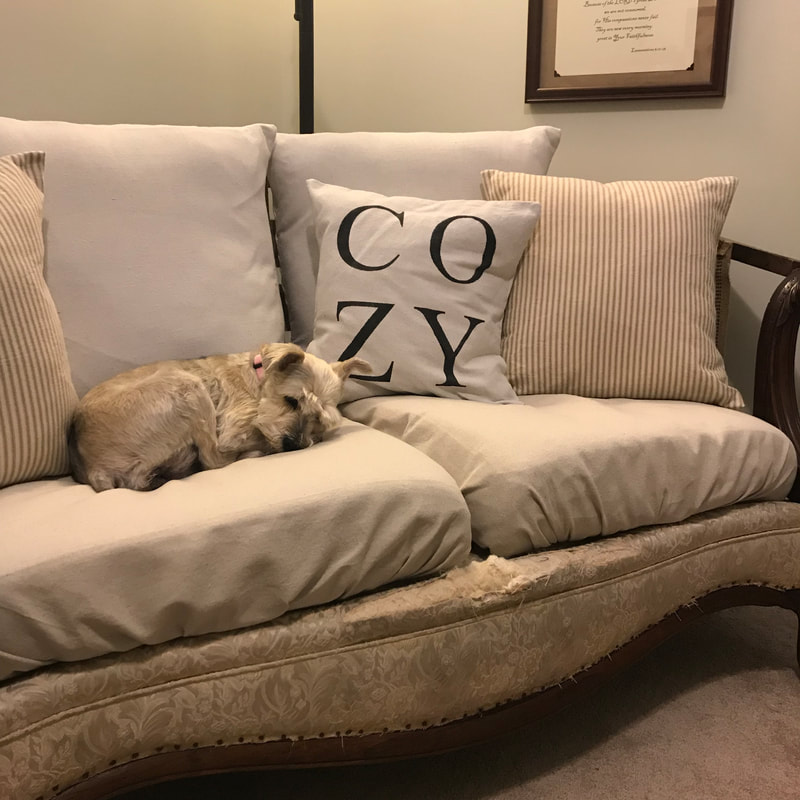
My easy drawstring cushion covers are a smaller project inside a much larger one...a deconstructed love seat or old fashion settee. Once I am finished with the deconstructed love seat (it obviously still needs work) I will put together DIY instructions on the entire project. For now, this is a simple solution for any seat cushion you wish to cover. As I write this, I have another love seat in the house I need to create covers for as my sweet Airedale Terrier has worn to threads the one in my living room in his scramble to guard the front door. Do you have kids or pets like I do? Do you have an old upholstered piece that needs a face lift? Do you have a sewing machine to complete this easy project? I have an attractive and practical solution for your needy cushions! Wow! I bet these bright colors got your attention! I actually like teal but this wasn't the color I was looking for to replace the old settee's cushions. I could have shopped at Joann's Fabric or Hobby Lobby for replacements. However, Lowe's Home Improvement had these outdoor furniture cushions on their end of summer clearance rack...and they fit perfectly!!! So now to cover them! (I will also create another small project DIY on how to make the pillow covers! But for now, the seat cushions!) Step by Step Instructions: 1. Calculate fabric needed.
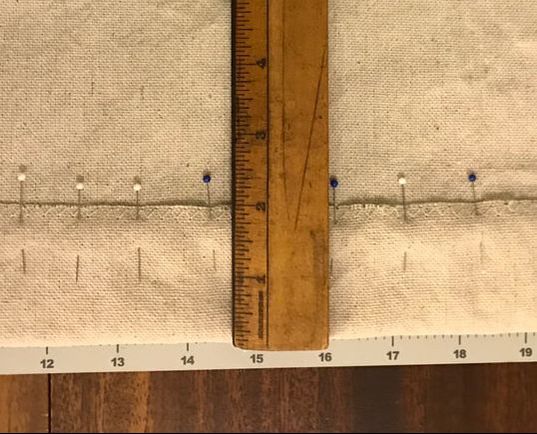
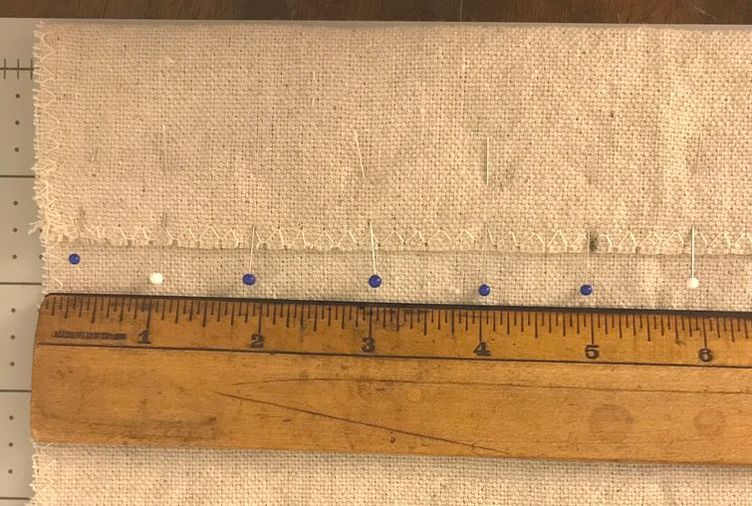
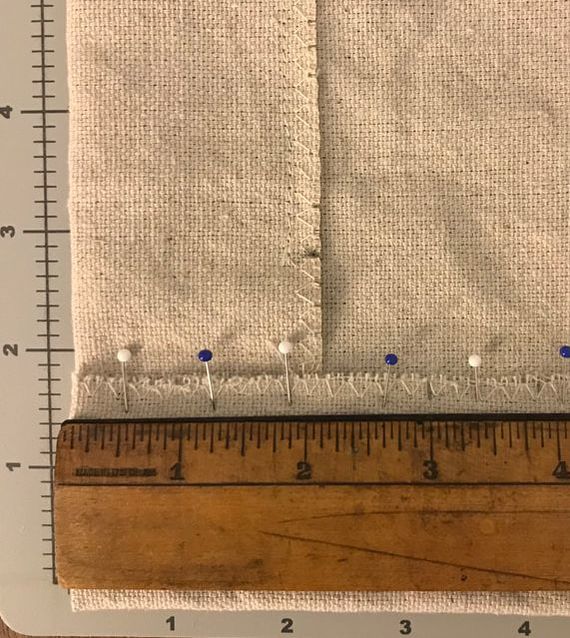
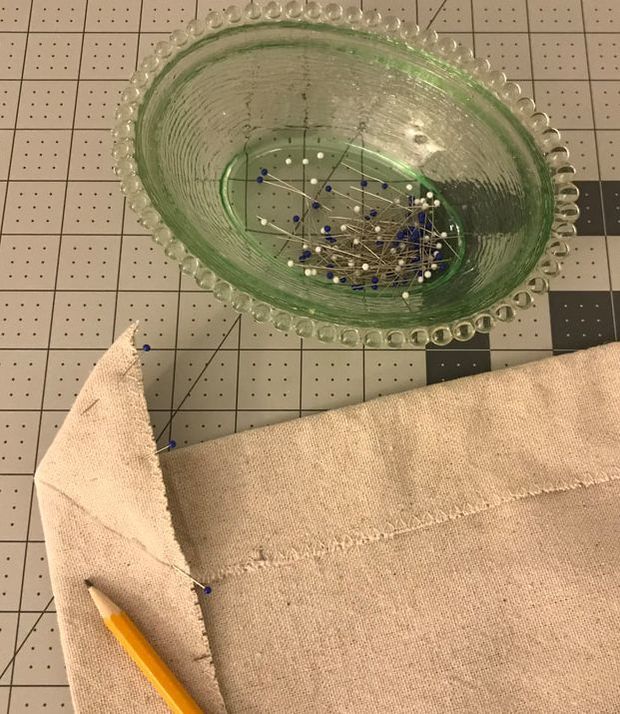
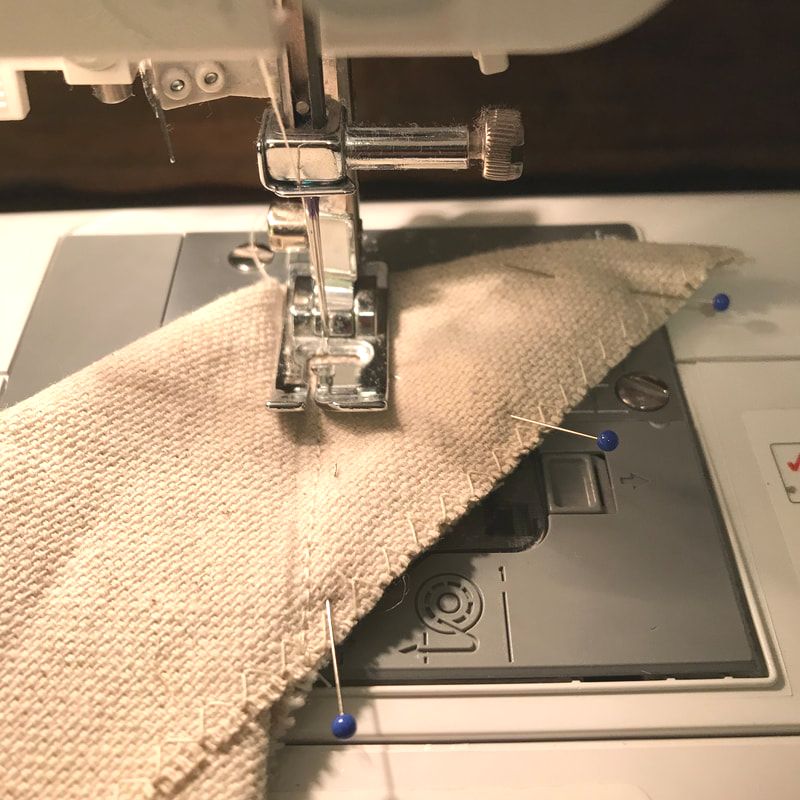
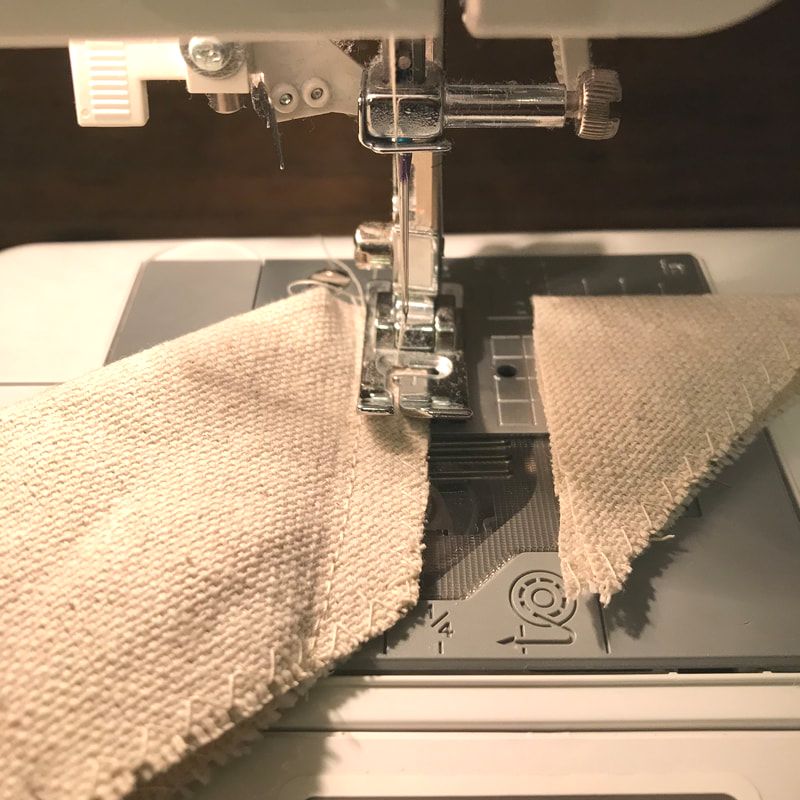
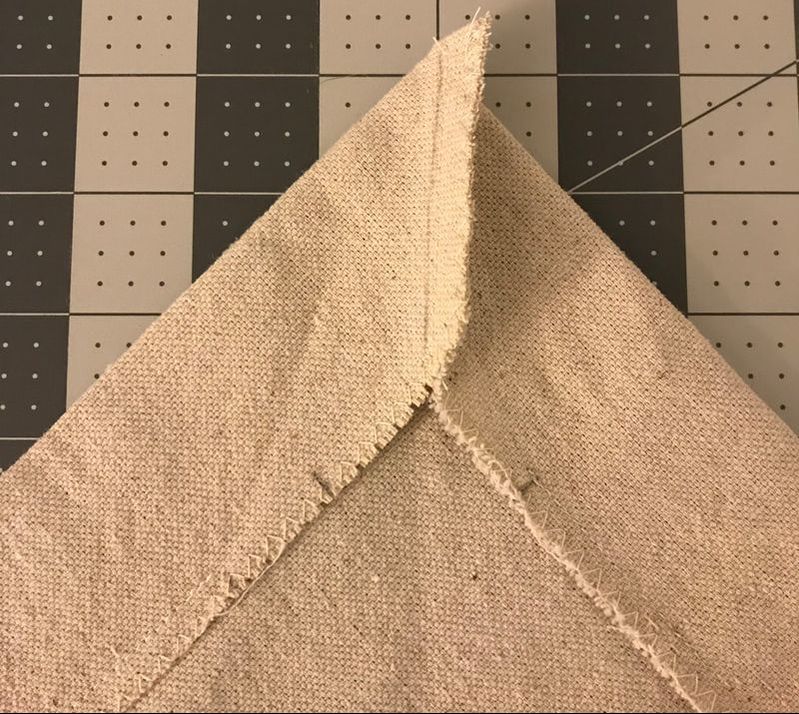
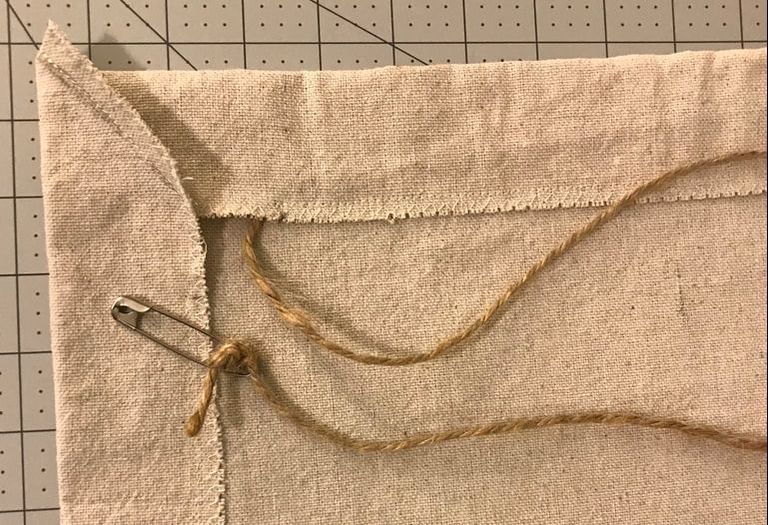
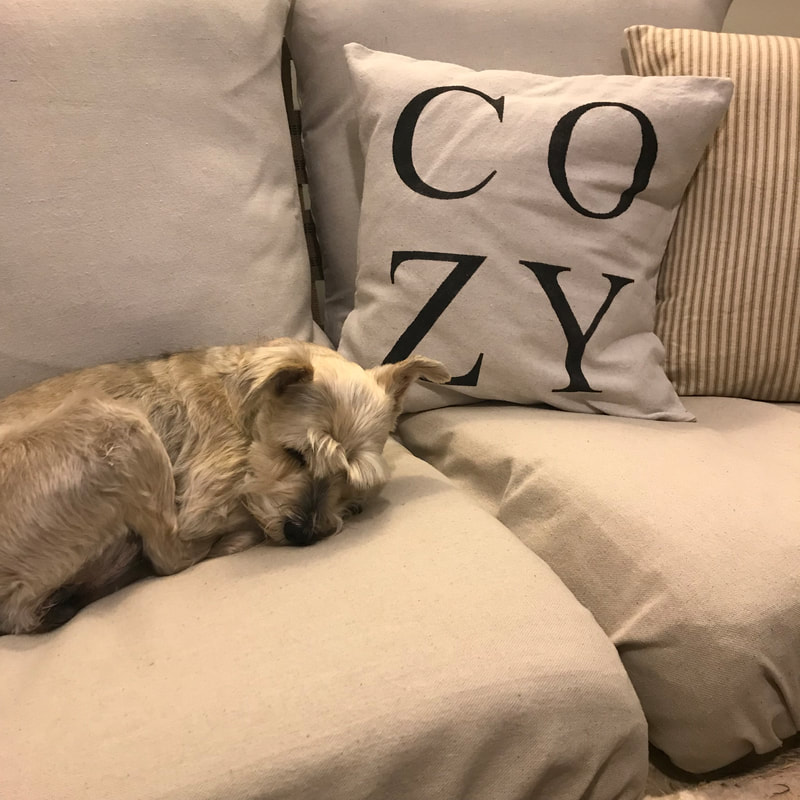
2. Select fabric and drawstring needed. I used a sturdy cotton canvas cloth (like painter's cloth) for my project. This was my choice because of the neutral color, durability and cost. I think a thinner stretchy knit fabric might work better to fit over the cushions. However, this would definitely be more susceptible to rips and tears. I chose a thick jute twine for my drawstring. Again, I was going for neutral, durable and low cost. 3. Cut the size of fabric you need to cover your seat cushion. I have a rotary cutting mat, quilting ruler and rotary cutter. However, a yardstick, carpenter's square and scissors will do. 4. Zigzag stitch the raw edge of your fabric. With your sewing machine, add a zigzag stitch to the raw edge of your cut fabric. This stitch will keep the edge of your fabric from fraying. 5. Pin a two inch hem on two opposing sides of your fabric. (Pictured above.) If the fabric has a front and back side, make sure the front is facing down and you fold and pin the hem on the backside of your fabric. 6. Mark 5 inches in on each end and sew hem. (Marking 5 inches pictured above.) Five inches from each pinned side is where your hem stitching will start and stop. The five inches at each end will remain un-hemmed for now. Don't forget to back stitch to secure your stitching. 7. Pin a 2 inch hem on two remaining sides of fabric. 8. Measure and mark at 3 inches from each end on the two opposing pinned sides from step #7 then sew hem. (Marking 3 inches in from each end of your 2 inch pinned sides pictured above.) Once you have marked 3 inches in, stitch the hem of the two remaining sides beginning and ending at the 3 inch marks. Don't forget to back stitch to secure your stitching. Once this step is completed you should have four un-hemmed corners to work on next. 9. Create, mark and pin a triangle at each un-hemmed corner. (Pictured above) I just use a regular pencil as I have found fabric pencils to be frustrating. 10. Sew a regular straight stitch close to your marked corner, cut the corner about 1/4 inch from your stitch and then zigzag along the raw edge to prevent fraying. (Pictured above.) Complete all four corners in this way. And here is what your finished corners should look like! By making these corners and cutting away the excess fabric we have removed some of the bulk for a better fit. 11. Measure, cut and insert the drawstring into the pocket hem you have created. Measure the amount of drawstring you need by simply laying your seat cushion cover flat and placing the drawstring around the hemline allowing an extra foot of drawstring at each end. Then cut the drawstring this desired length. I tied a good knot in each end of my drawstring. Then I threaded the drawstring using a large safety pin. (Pictured above.) The safety pin makes it much easier to thread your hem pocket and can be removed once you have the drawstring in place. 12. Lay your seat cushion in the center of the cover and pull the drawstring so the fabric conforms around the cushion. (Pictured above.) The drawstring will now seem excessive, but just tuck it out of site. Do not cut it shorter as you will need the entire length if the cover is removed. Finished! Miss Maggie sure loves the new covers! 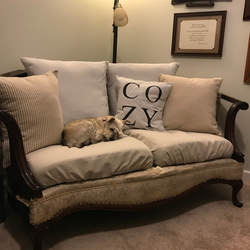
0 Comments
Leave a Reply. |
Sharingour HOME Categories
All
|
