|
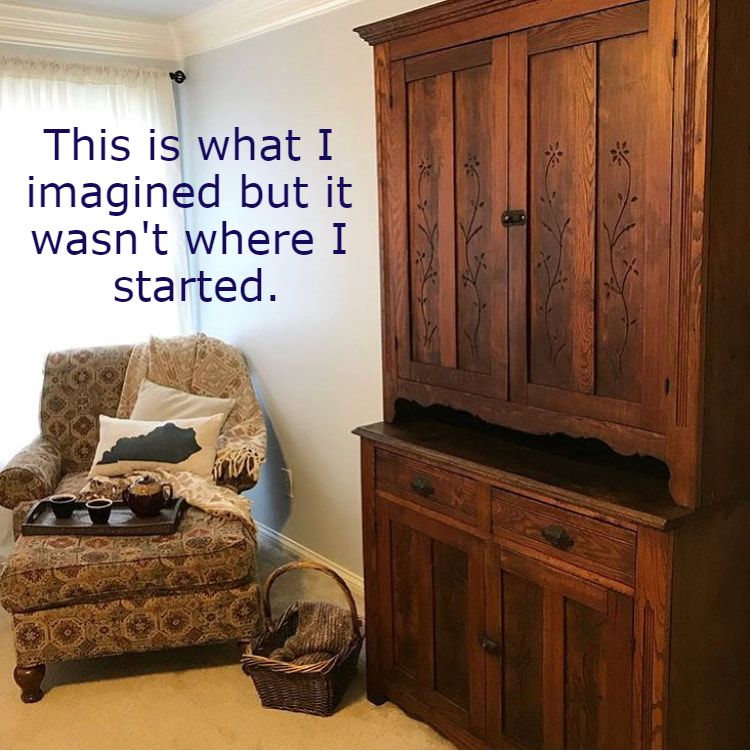
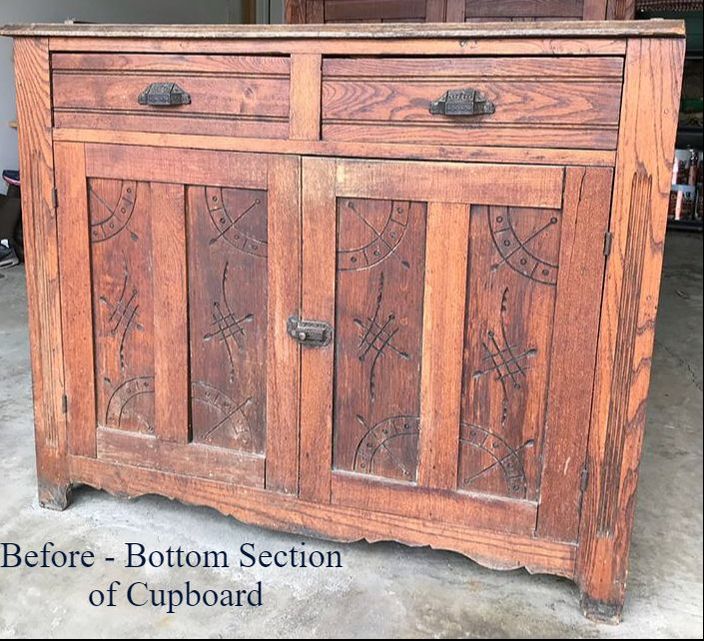
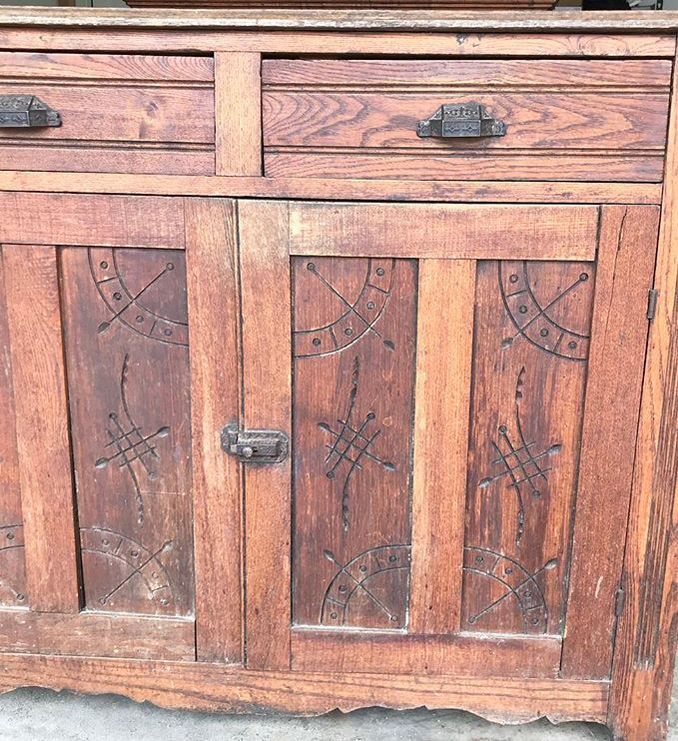
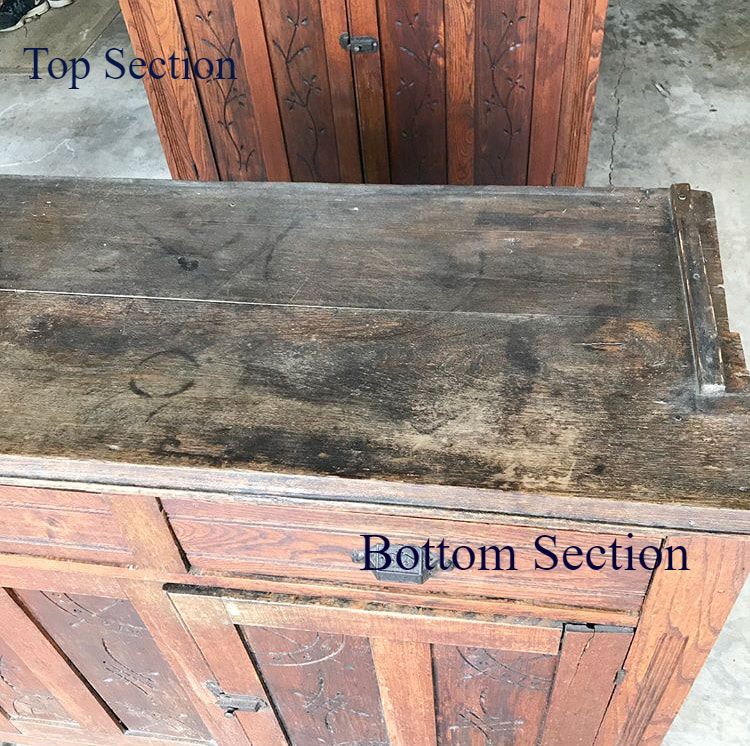
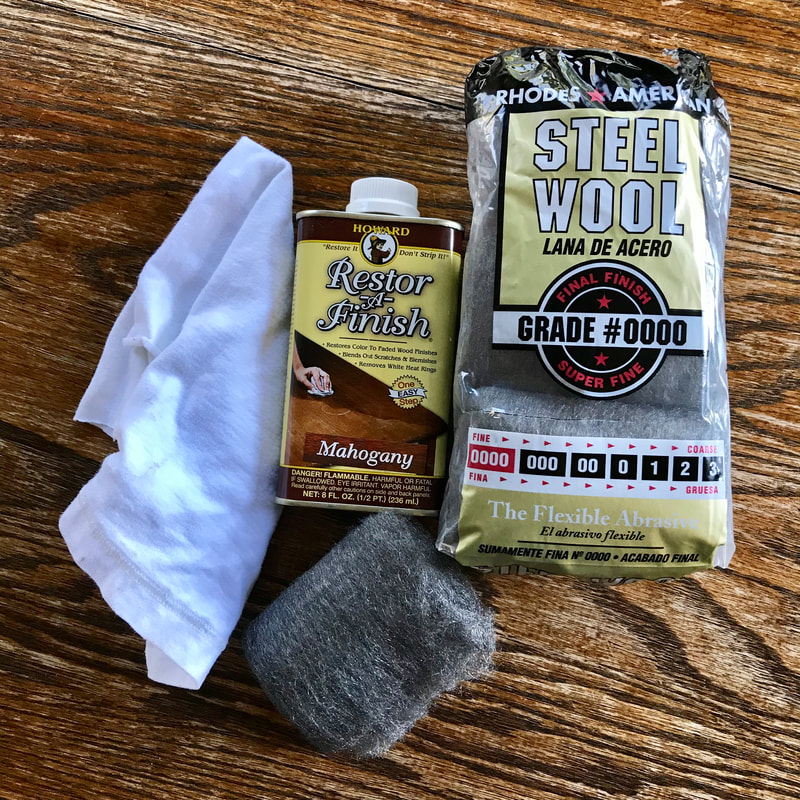
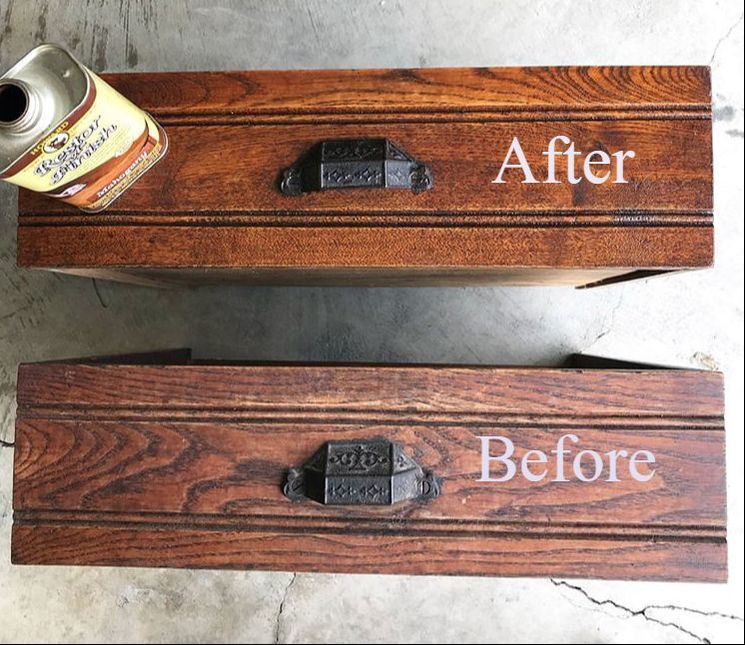
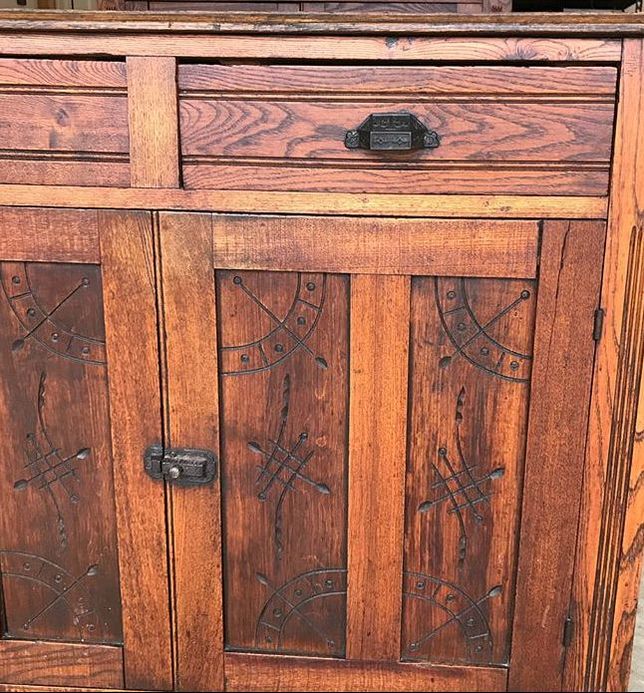
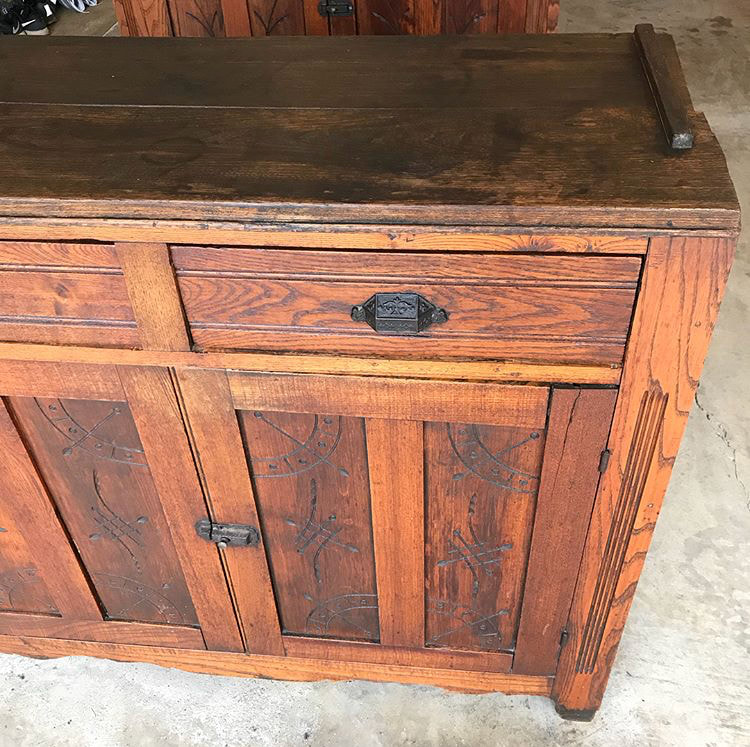
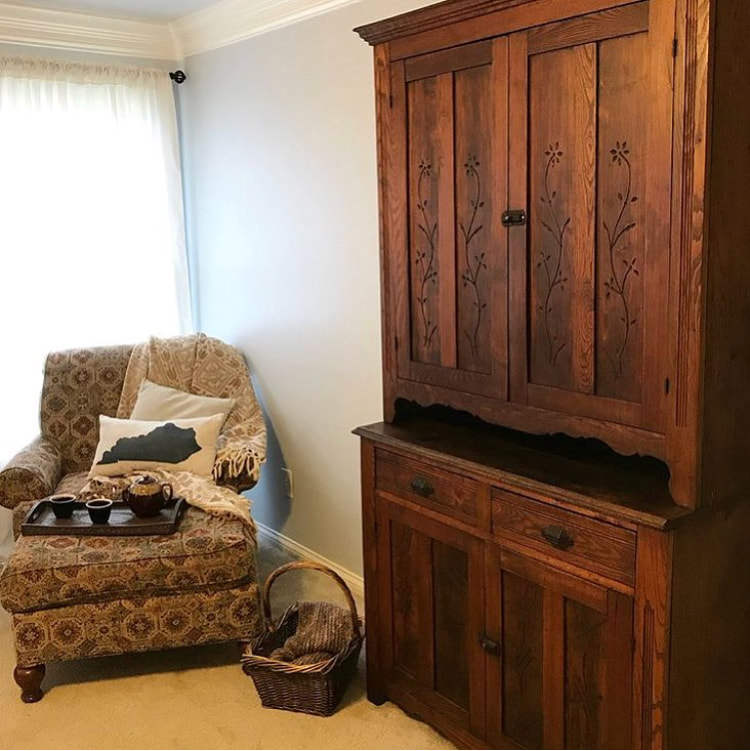
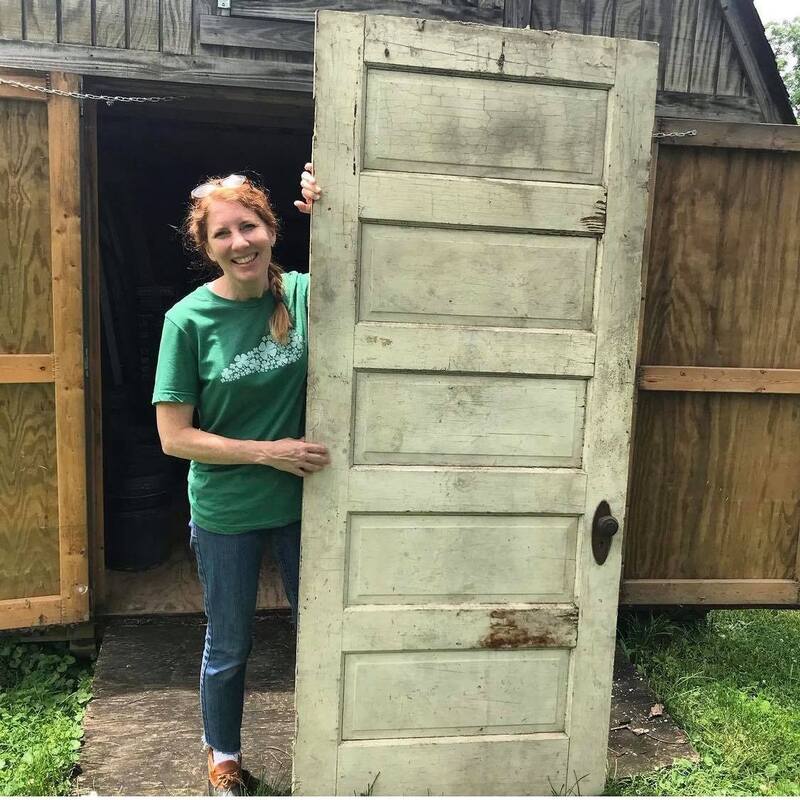
You admire that piece of furniture every time you are at your relative's house. And then the day finally comes. Their need to downsize equals welcoming a family treasure into your home. I've found myself in this spot several times. Once I receive an old furniture friend into my home, it's often in need of some TLC. And that's exactly what I gave the beautiful hand-carved antique cupboard above...TLC with Restor-A-Finish. (No, I am not being paid by this company. The product simply works so I want to tell everyone about it.) It's often hard to know what to do with old furniture that has a tired, worn and scratched finish. There are usually three options.: 1. Refinish. This requires hours of work, sweat (sometimes blood) and a well ventilated work space that can be tied up until you finish the project. 2. Paint. This is a popular choice right now. However, I don't think it's always best in the long run. Once the painting fade ends...then what? (Have you ever tried to remove paint from furniture? It's very difficult. I have an antique trunk that still has faint green deep down in wood grooves even after hours of stripping and sanding. It can never be returned to it's original glory.) I reserve painting to pieces that are not antiques. And if they are, they are so damaged that only paint can hide the damage and make them look lovely again. 3. Restor-A-Finish. This is a far less time consuming option. It works well if most of the finish is still in tact but lacks it's original luster, has light scratches or other areas of surface damage. To put it best and per the back of the product packaging, "unique finish-penetrating formula restores the original color and luster to wood finishes while blending out minor scratches and blemishes" and "permanently eliminates white heat rings, watermarks, scratches, color fade, oxidation, smoke damage...restores finish in one step - without removing any of the existing finish". Restor-A-Finish is exactly what my new-to-me cupboard needed, especially since it was so large, having two parts, with the bottom significantly more worn than the top. Besides, I really only had one afternoon to get it done. Here are some pictures of the worse wear: You can see the top section of the cupboard in the background of the second image of BEFORE pictures. Like I said, it wasn't too bad and just needed a little attention. However, the top and front of the bottom section were in awful shape. It was time to get to work! Materials Needed:
How to use Restor-A-Finish:
Even though the top section of the cupboard was in significantly better shape than the bottom section, the top was still dull and had numerous scuffs. I used Restor-A-Finish on both sections so the final results would be uniform. Below are some more pictures of how I transformed my worn and scratched cupboard with Restor-A-Finish. 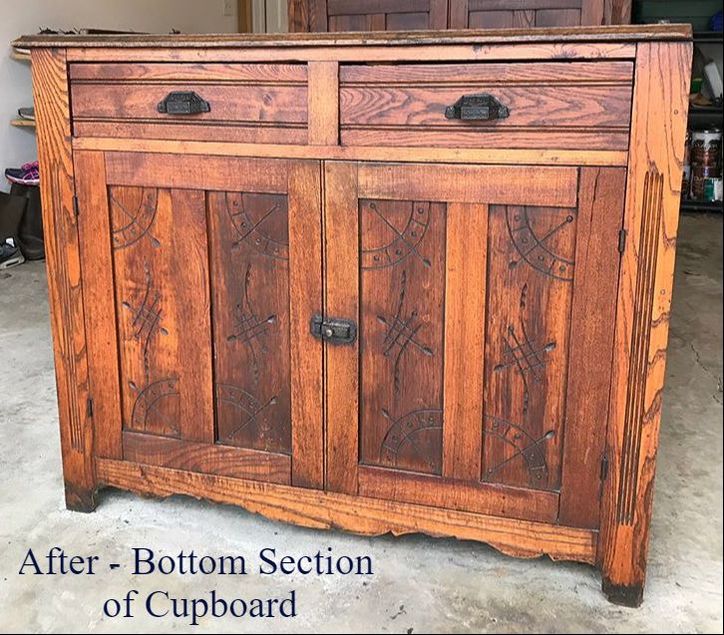 My beautiful, hand carved, antique cupboard went from worn out to a treasured family heirloom in a matter of two hours or less! We will enjoy it for years to come!
0 Comments
Leave a Reply. |
Sharingour HOME Categories
All
|
