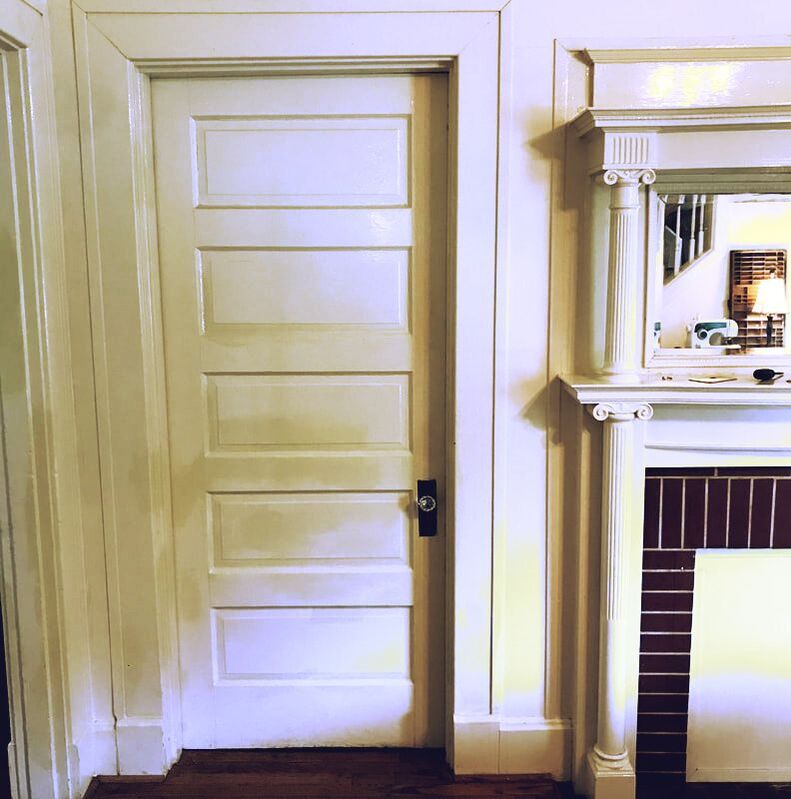
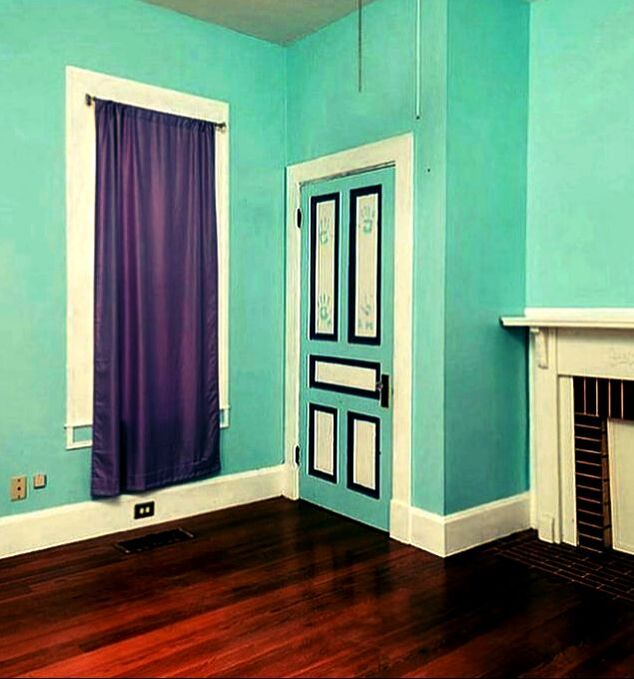
 Whether you live in an older home or not, restoring and refinishing antique solid wood doors to include in your decor is stunning! In our case, we had several beauties that needed a complete overhaul to uncover their lovely wood grain. The present condition and what has been done to an old door can greatly impact how much work is needed to bring it back to life. We had three doors that needed a lot of work. With this being the case, I can detail for you several methods to revive any door. Below are some examples of what kind of shape our doors were in to begin with.
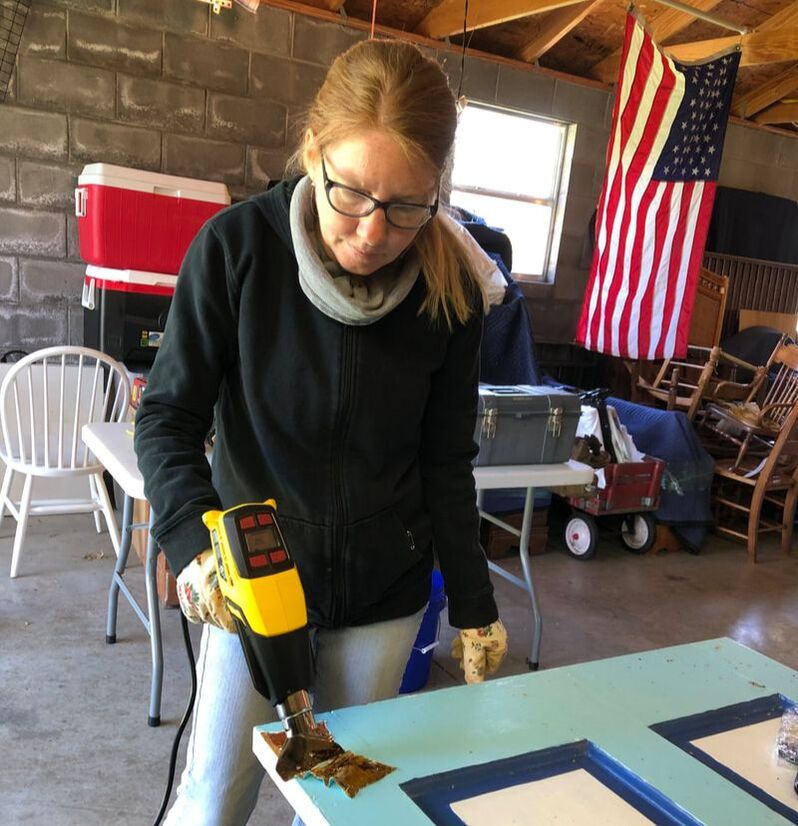
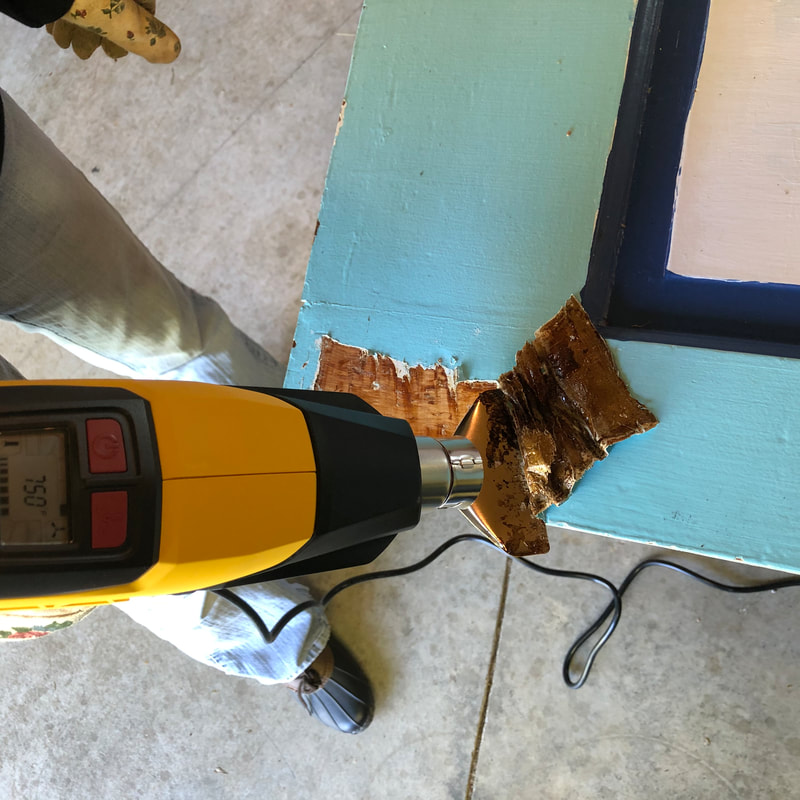
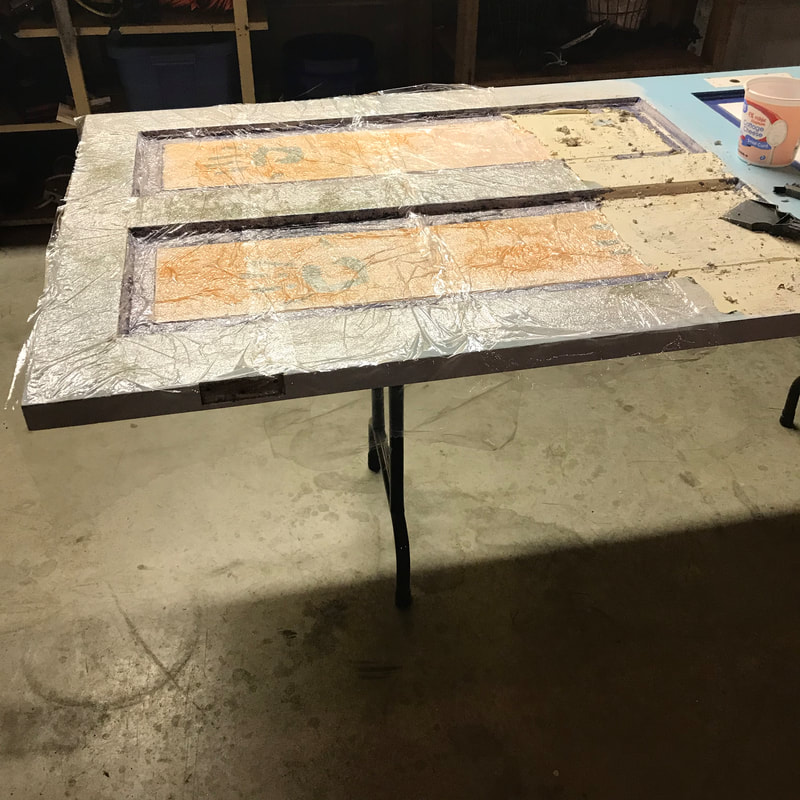
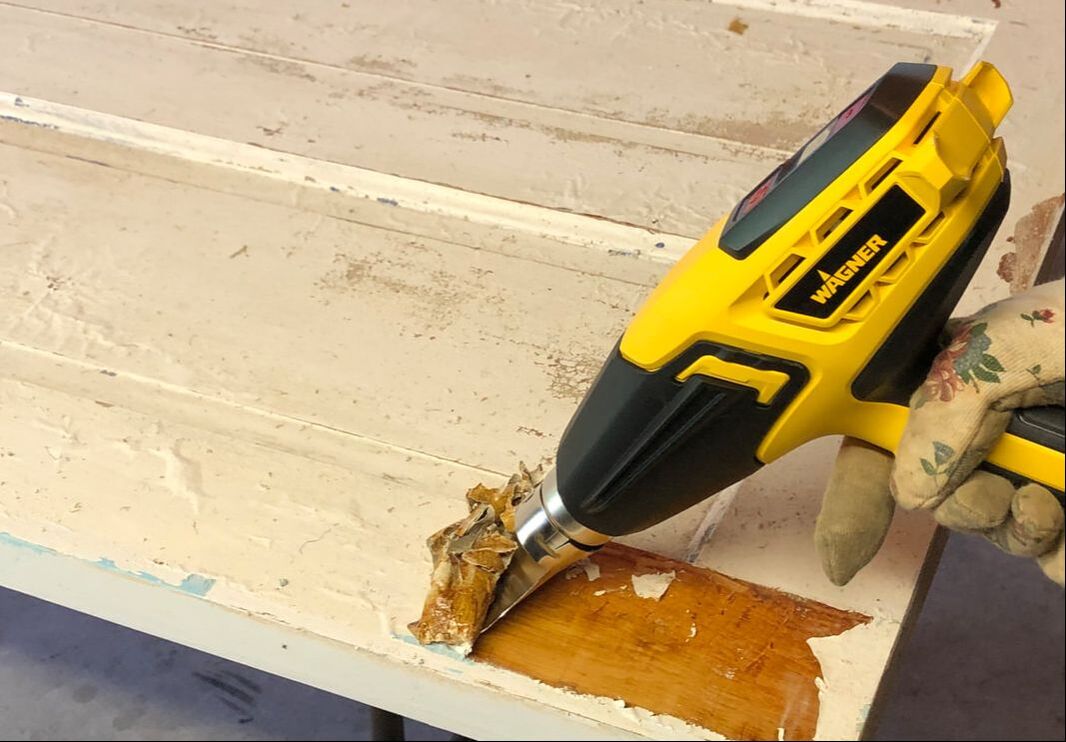
These are just two examples of where we started! Every door had multiple layers of paint on both sides of the doors. (We currently have three doors that we are in various phases of completing their facelift.) Many old doors have several layers of paint to remove. There are three ways to remove paint from wood...heat gun, chemical stripper and sanding. I used all three on my old doors! Some older paint is lead based. Its important to wear a mask when removing lead based paint and dispose of the removed paint carefully. You can purchase an inexpensive lead based paint test kit at any hardwear store. Working on an old door can be a messy job. We found laying a door on a metal folding table created the perfect height and stability to work on each side of a door. Be sure you are set up in a well ventilated area out of reach of children and pets. 1. Heat Gun. Items needed: Heat Gun Heat Gun Scraping Attachment Metal Scraper Waste Disposal Tub Gloves and Long Sleeves Mask A heat gun is the most aggressive way to remove old paint. You can remove multiple layers at one time. It just melts off and can be removed easily with a metal scraper. I purchased a Wagner Heat Gun and have been happy with it. It's important to add that you should always wear long sleeves and gloves when operating a heat gun. Set your heat gun somewhere between 700-800 degrees with a scraping attachment. (I found if I didn't use an attachment I would get too close and scorch the wood.) In addition to a scraping attachment, I used a hand held scaper as the old paint can be kind of sticky. It is good to have a container or disposal tub close by to collect the removed paint. I've noticed that a heat gun does leave some deeper paint residue behind that has soaked into the wood which I have addessed in other methods of paint removal.
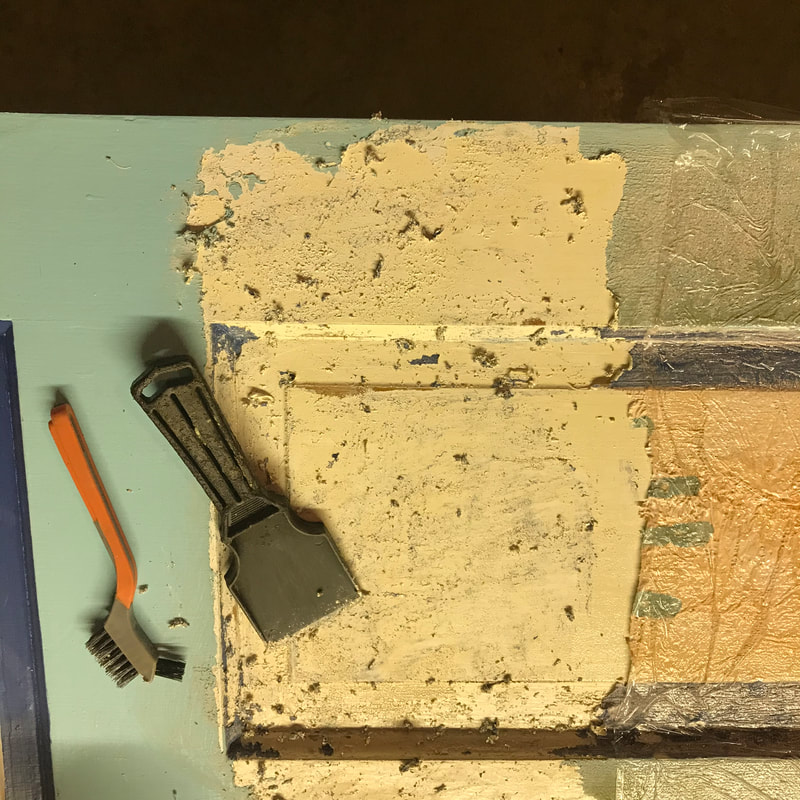
 2. Chemical Stripper. Items Needed: CitriStrip Plastic Wrap Metal Scraper Coarse Steel Wool Waste Disposal Tub Thick Plastic Gloves The safest and most effective paint stripper I have found is CitriStrip. This product is easy to find at any hardware store or the paint section of any big box store. I discovered a heat gun worked best to remove multiple layers of paint but CitriStrip was more effective on just one layer or deeper paint residue removal. It is important to use thick gloves when working with CitriStrip or any chemical paint remover. Working on a section at a time, apply CitriStrip use a large old paint brush and spread in a consistant thick layer. Once you have painted a section, cover with plastic wrap and allow to sit for at least 2-3 hours. The plastic wrap helps CitriStrip work into the paint without drying out. Keeping a waste disposal tub on hand, carefully peel back the plastic wrap and place it promptly in the disposal tub. Next scrape paint from the entire treated surface using a metal scraper. Course steel wool is wonderful to get any remaining paint residue the scaper leaves behing. Metal brushes available in hardwear stores are helpful for removing paint from cracks and crevises. Dispose of paint residue and soiled steel wool in the disposal tub. Seal the tub and dispose of in the appropriate way for your area.
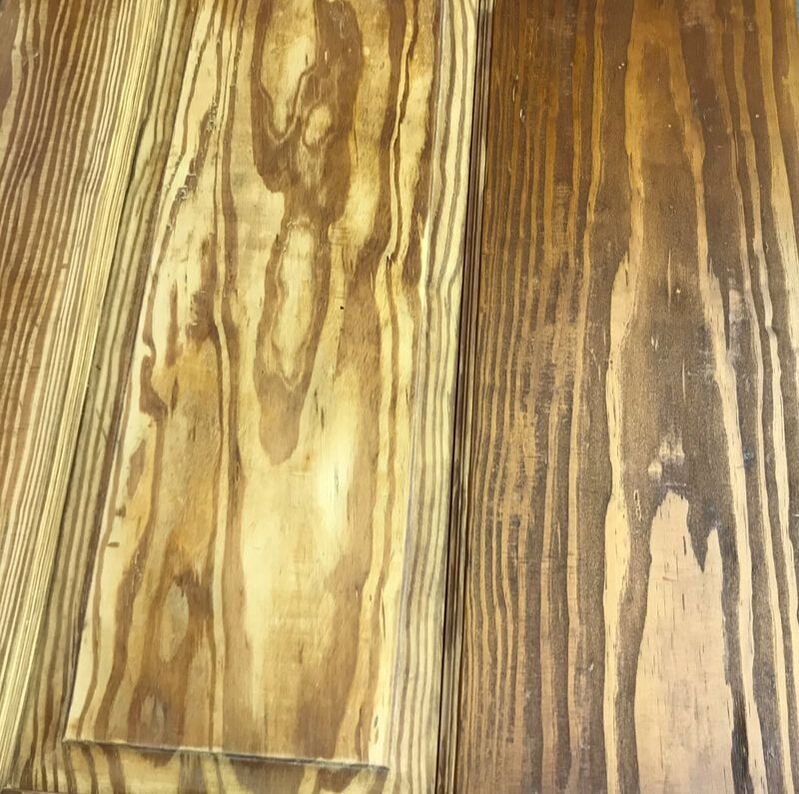
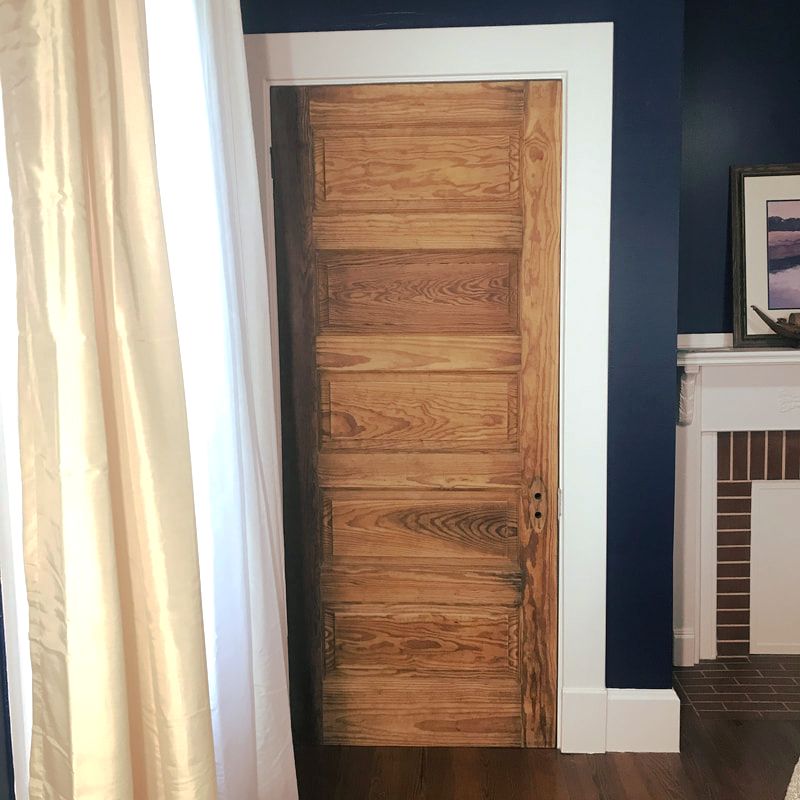
3. Sanding. Items Needed: Finishing Sander 100, 150, 220 grit sandpaper Gloves Shop Vac Mineral Spirits Lint Free Cloth Sanding can remove the last bit of paint but it is also essential before staining. I purchased a small finishing sander to get the job done easily but hand sanding is still needed in the detailed grooves and crevices of a door. The higher the number, the coarser the sandpaper. It's best to sand everything with 100 grit and then work your way up to 220 grit paper. The more you sand and the higher the grit you end with, the more the beautiful woodgrain with emerge. Always sand in the direction of the wood grain! Once you have completed sanding the entire door, remove all sanding debris with a shop vac. Remove the final bits of dust with a lint free cloth and mineral spirits.
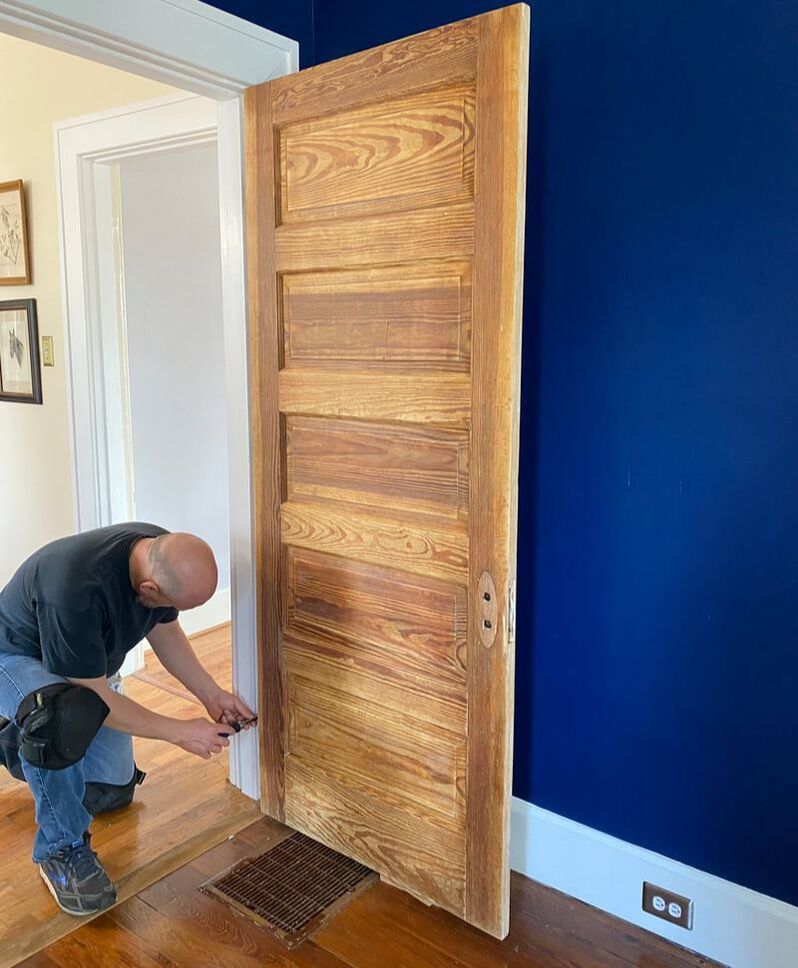
4. Staining and Sealing. Materials Needed: Clean Lint Free Clothes Pre-Stain Wood Conditioner (We used Minwax) Wood Stain (We used Minwax Penetrating Wood Stain in English Chestnut) Polyurethane (We used Minwax Fast Drying Polyurethane in Clear Stain) Your choice of stain and polyurethane is entirely up to you. Some people prefer bare wood, some like bare wood with a layer of poly and others like wood stain. We used one coat of Minwax Penetrating Wood Stain in English Chestnut to match our hardwood floors. The more coats of wood stain you use, the richer and darker your door will look. As far as polyurethane goes, I prefer a low gloss poly and steer away from super shiny or glossy finishes. One trick I have learned is it is easier to apply pre-stain conditioner, stain and poly once the door is installed! But wait. Before you move that door from your work area and hang it, apply prestain and then stain to the hinge edge only. Next put your clean hinges on your door. Now it's time to put your door in place!
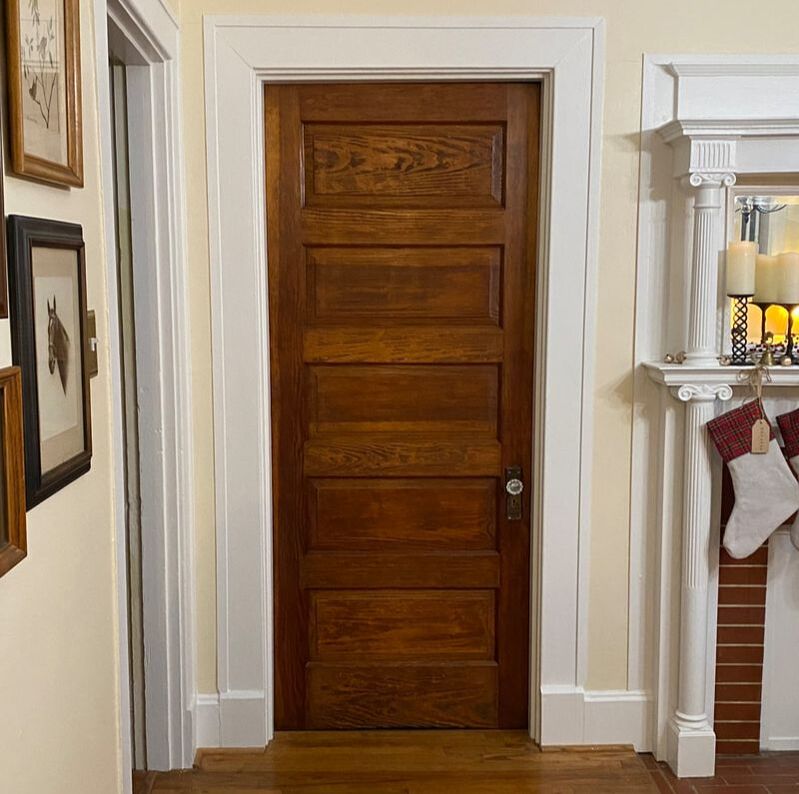
Once your door is in place, apply prestain wood conditioner, wood stain and finally poly with clean, lint free clothes. Make sure to follow instructions and drying times between each coat. I find using a brush to apply these items too messy and much prefer a cloth. Once all coats have been applied and are dry, the final step is to put the door knob in place.  Wow, wow, wow!
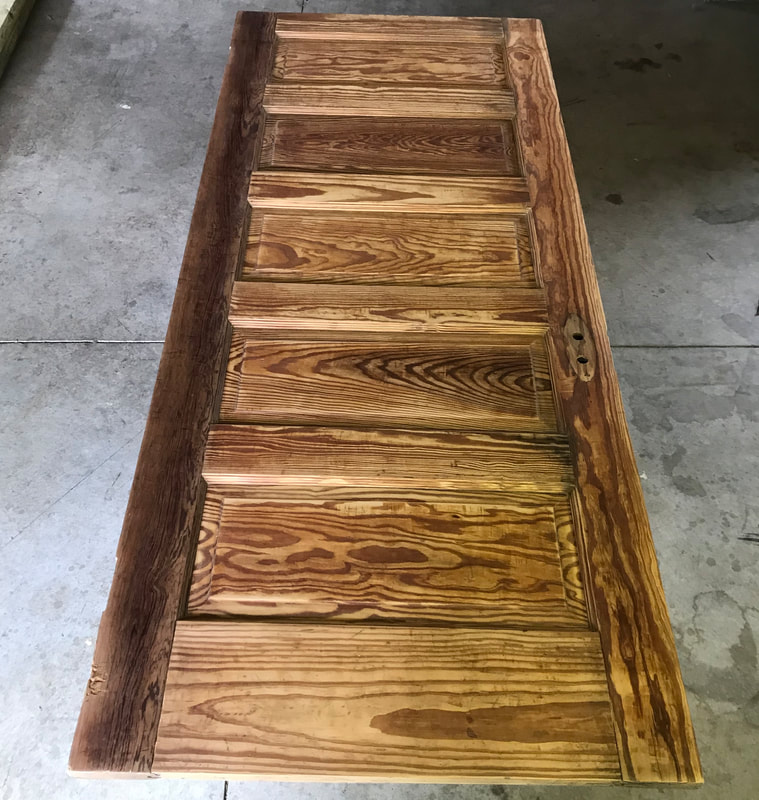
I just LOVE a restored solid wood door!!! It was a lot of work but worth every bit of time we invested in it.
5 Comments
5/21/2024 11:55:34 pm
Visitors gain a deeper appreciation for the labor-intensive nature of winemaking, forging a connection with the land and its people. 5/22/2024 12:18:37 am
Non-alcoholic spirits, a burgeoning category in the beverage industry, cater to consumers seeking sophisticated alternatives to traditional alcoholic drinks. 5/22/2024 12:24:52 am
Looking to rejuvenate mind, body, and spirit? Bend vacation rentals offer the perfect setting for wellness retreats, with tranquil surroundings and rejuvenating amenities such as yoga studios, meditation spaces, and spa facilities. Leave a Reply. |
Sharingour HOME 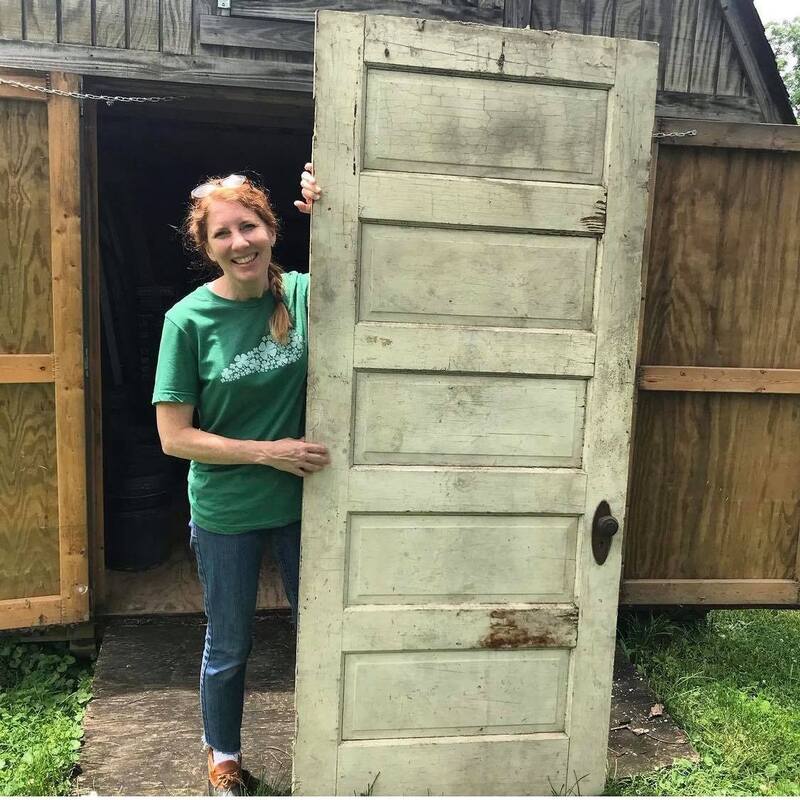
Categories
All
|