|
You can't beat homemade, round, crustless bread topped with your favorite spread. And that's exactly how my mother-in-law Carol made it. Carol was mom, grandma and great grandma to many. Her bread was special not just because of the ideal round shaped slices but because of who made it. I was told her recipe was from the old Betty Crocker Cookbook but I have had it written on a tattered paper for years. Making yeast bread takes some practice. It may be good to start with the smaller batch of this recipe before making the extra large batch. I think Carol made 9 loaves at a time but I've developed this recipe to 12 loaves (which is all I can handle kneading). I've also included lots of tips so you don't have to figure it out on your own. Carol and her husband Earl always said they preferred King Arthur Bread Flour. It's rather pricing and I've found that any brand of bread flour does the job. Carol always made white bread and also wheat bread using this same recipe but substituted a large amount of wheat bread flour for white bread flour to create the wheat version. I prefer to use white bread flour with a small amount of wheat bread flour worked in...just enough to add a richer flavor to homemade white bread...ie. just 3 cups wheat bread flour in the largest batch below. If you plan to make a lot of bread, the yeast that can be purchased in a small jar is more economical than the packets. One packet of active dry yeast equals 2 1/4 ts from the jar. Just fyi...when doubling recipes, yeast needs to be more but not doubled. Double the yeast just means faster rising times. Some things you will need to make Carol's Bread: Very Large Mixing Bowl Kitchen Scale Empty, Clean Tomato Juice Cans (46 fl. oz. size) Electric Bread Knife Small Batch with detailed instructions. Makes 3 juice can loaves. Stir together in small container until dissolved: 1/2 cup warm water 2 pkg active dry yeast 1 heaping tsp sugar (I use my 1 cup measuring pyrex for the warm water, 2 cup measuring pyrex for larger batches, and just add the yeast and sugar. The water must be warm to activate the yeast. Cold water gets minimal action and hot water will kill the yeast. The sugar speeds up the process. The yeast will start to foam and bubble as it is dissolving in the water. Stir occationally while your working on the next step so yeast does not over expand.) In a large mixing bowl combine: 1 3/4 cup warm water 3 TB sugar 1 TB salt 2 TB softened margerine Activated yeast mixture above Add 7-8 cups flour mixing in a little at a time. I use a large wooden spoon to mix with the small batches but start off with an electric mixer with the large batches. When the dough becomes too stiff to use the mixer, stir it in by hand. When the dough becomes too stiff to stir, turn onto a surface to knead. Letting the dough rest for about 10 minutes before kneading can make the kneading process easier. Continue to knead and add flour until the dough is no longer sticky. (Find a surface for kneading that works for you. With the larger batches, I don't have a board or bowl large enough to accomplish this so I use an area of my counter top and stand on a small stool so I am the right height to knead the dough.) Place dough in a greased large mixing bowl and let rise for about an hour. (Tips for bakers with young children...kneading dough is not a task you can start and stop multiple times because your hands are in the dough and messy. It's challenging to stop kneading, remove all the dough from your hands and attend to a little one. I would suggest timing this when your young children are down for a nap or somehow occupied. Another tip...If you get somewhere in the bread making process and need to abruptly stop, the rising dough can be covered and put in the refrigerator. The cold slows but doesn't stop the dough from rising.) Once your dough has risen for about an hour, punch down the air from within the dough and turn it over in the bowl. Let the dough rise again until double, about 30 minutes. After the second rising, punch the dough down again and, using the kitchen scale, divide into 1 pound balls. Knead each ball to remove the air bubbles. (This step is a good time to involve young children and even give them a small piece of dough to work with. I used to have small loaf pans I often let my little bakers use to make their own little loaf using a 1/2 pound ball of dough. If you want to use standard size loaf pans, the dough can be divided into 1 and 1/2 lb balls and shaped into loaves.) Place each 1 pound ball of dough into a greased juice can. Gently press the ball down to remove air that can get trapped at the bottom of the can. Now is a good time to preheat your oven to 350 degrees. (Be sure to put your oven rack on the lowest level and remove any extra racks so the juice cans can sit upright once they are placed there.) Let the dough balls rise until they reach the surface of the juice cans and then place the juice cans in your oven. Bake for 30 minutes. The bread will form a rounded, brown "heel" at the top of the can. Remove from oven and allow to cool slightly. Tap the sides of the can on your counter to loosen the bread and slide the loaf out to cool on a cooling rack. Once the loaves of bread have cooled completely, cut into slices with an electric bread knife. Enjoy your bread slices with your favorite spread or use for sandwiches. (Don't forget the heels are yummy too! My oldest child used to call them "hats" when she was little. I still save the hats for her!) The slices of bread can be placed in ziplock bags and frozen. (Remember this bread doesn't have all the additives that store bought bread does to extend it's shelf live. It's alway better to freeze some of it. The bread you can consume within a few days can be stored at room temperature. Medium Batch. Makes 9 juice can loaves. Dissolve 2 TB yeast in 1 cup warm water with 1 heaping ts sugar. Set aside. In a large mixing bowl combine: 5 1/4 cup warm water 2/3 cup sugar 2 TB plus 1 1/2 tsp salt 6 TB margerine Activated yeast mixture above Add 21 cups flour mixing in a little at a time. Start with an electric mixer. When the dough becomes too stiff to use the mixer, stir it in by hand. When the dough becomes too stiff to stir, turn onto surface to knead. Place dough in a greased large mixing bowl and let rise for about an hour. Punch down, turn over in bowl and let rise again until double. Punch down again. Divide dough into 1 pound balls. Knead each ball to remove air bubbles before placing in greased juice cans. Let the dough balls rise until they reach the surface of the juice cans and then place the juice cans in your oven. Bake for 30 minutes at 350 degrees. Remove from oven and allow to cool slightly. Tap the sides of the can on your counter to loosen the bread and slide the loaf out to cool on a cooling rack. Once the loaves of bread have cooled completely, cut into slices with an electric bread knife. Large Batch. Makes 12 juice can loaves.
Dissolve 3 TB yeast in 1 cup warm water with 1 heaping ts sugar. Set aside. In a large mixing bowl combine: 8 cup warm water 3/4 cup sugar 3 TB salt 1/2 cup margerine Activated yeast mixture above Add 28 cups flour mixing in a little at a time. Start with an electric mixer. When the dough becomes too stiff to use the mixer, stir it in by hand. When the dough becomes too stiff to stir, turn onto surface to knead. Place dough in a greased large mixing bowl and let rise for about an hour. Punch down, turn over in bowl and let rise again until double. Punch down again. Divide dough into 1 pound balls. Knead each ball to remove air bubbles before placing in greased juice cans. Let the dough balls rise until they reach the surface of the juice cans and then place the juice cans in your oven. Bake for 30 minutes at 350 degrees. Remove from oven and allow to cool slightly. Tap the sides of the can on your counter to loosen the bread and slide the loaf out to cool on a cooling rack. Once the loaves of bread have cooled completely, cut into slices with an electric bread knife.
0 Comments
Stir fry in a skillet, drain and place in a large slow cooker:
3 lbs Mild Sausage 2 TB minced Garlic 2 Green Bell Peppers, chopped 2 Onions, chopped 3-4 stalks Celery, chopped Add to the slow cooker: 2 cans diced tomatoes, liquid included 1 can black beans, liquid included 1 TB Cajun Seasoning 2 tsp Salt Cook on low for 4 hours. Then add 24 oz. Extra Small Shrimp (cooked, peeled) Heat thouroughly. Serve Jambalaya over Rice. Enjoy. Over-the-Top Milk Chocolate Syrup is part of every holiday meal around our table. (And quite frankly, whenever we find an excuse to make it.)
Forget pumpkin pie and other traditional favorites. Although there is nothing wrong with traditional holiday desserts. But this one, served over ice cream, is so easy and a favorite for everyone! Now we just can't agree which ice cream is the best to serve it on. I vote for Vanilla Bean. Combine on stove top: 1/2 cup butter or margerine 2 cups powdered sugar 1 can (12 oz) evaporatd milk (Milnot a milk replacement substituted) 1 cup chocolate chip Bring to a slow boil while stirring constantly. Slow boil until thickened. Serve over ice cream. Baked Oatmeal is a yummy, filling breakfast dish that can be made ahead of time then baked 30 minutes before the hungry troops are ready to eat. We like to serve our Baked Oatmeal with milk, vanilla yogurt and canned peaches on the side. You can opt to add other toppings that you prefer. Some examples of excellent toppings are pecans, walnuts, almonds, dried fruit, canned fruit, yogurt or milk. Ingredients:
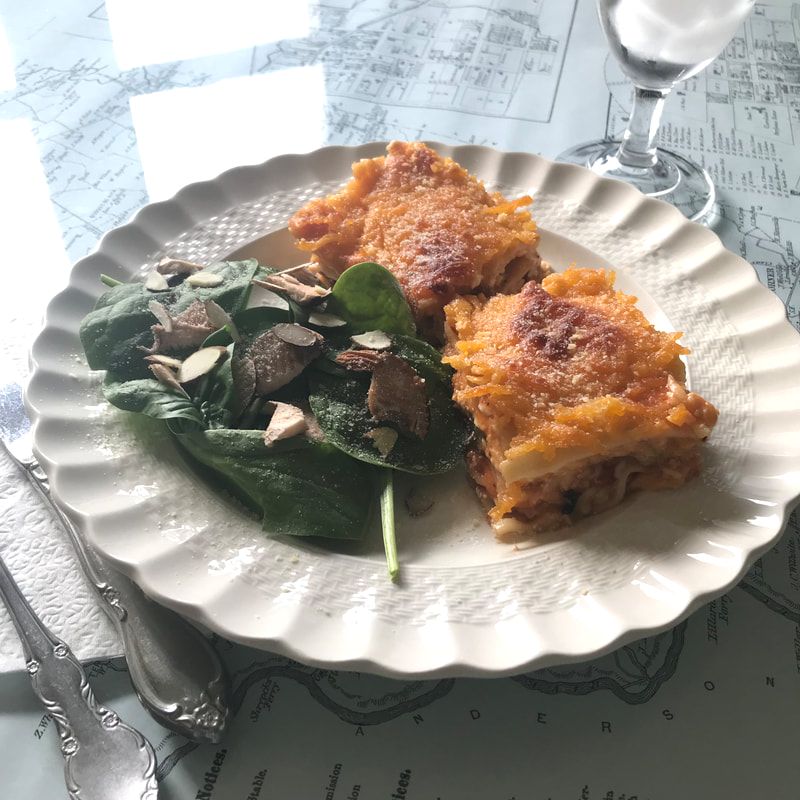
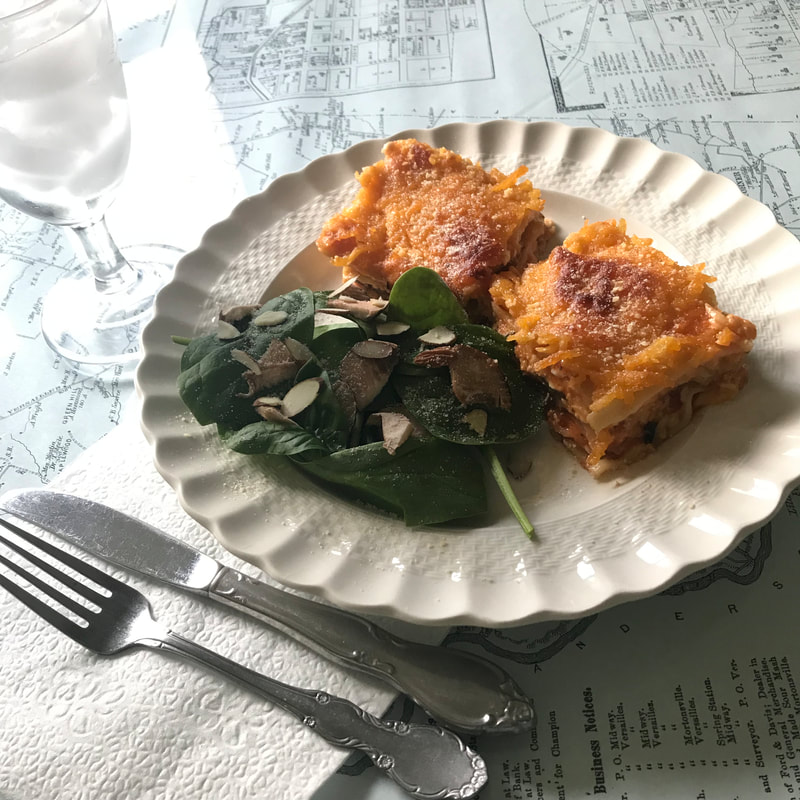
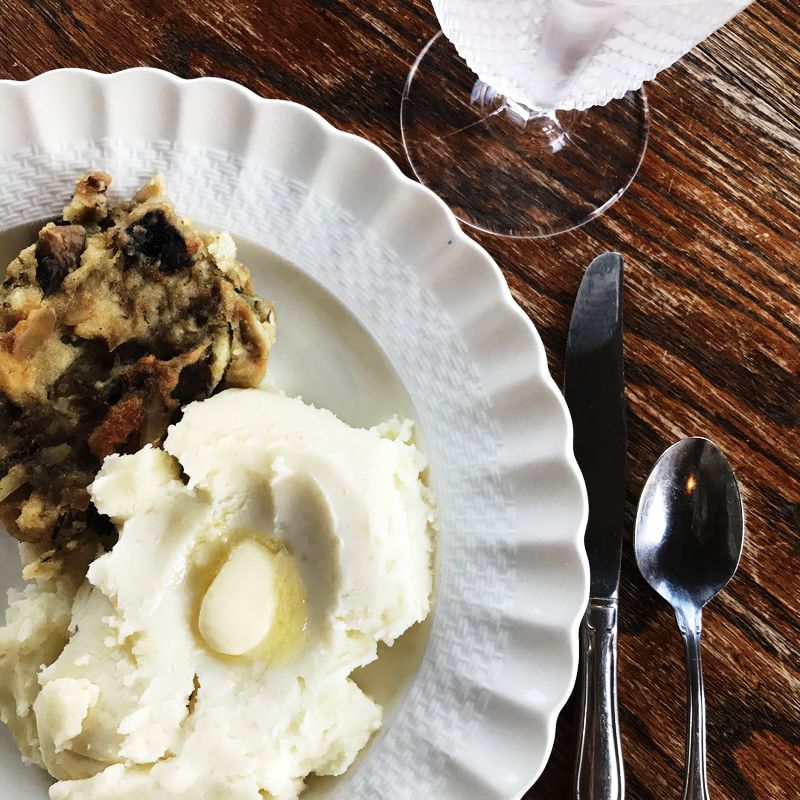
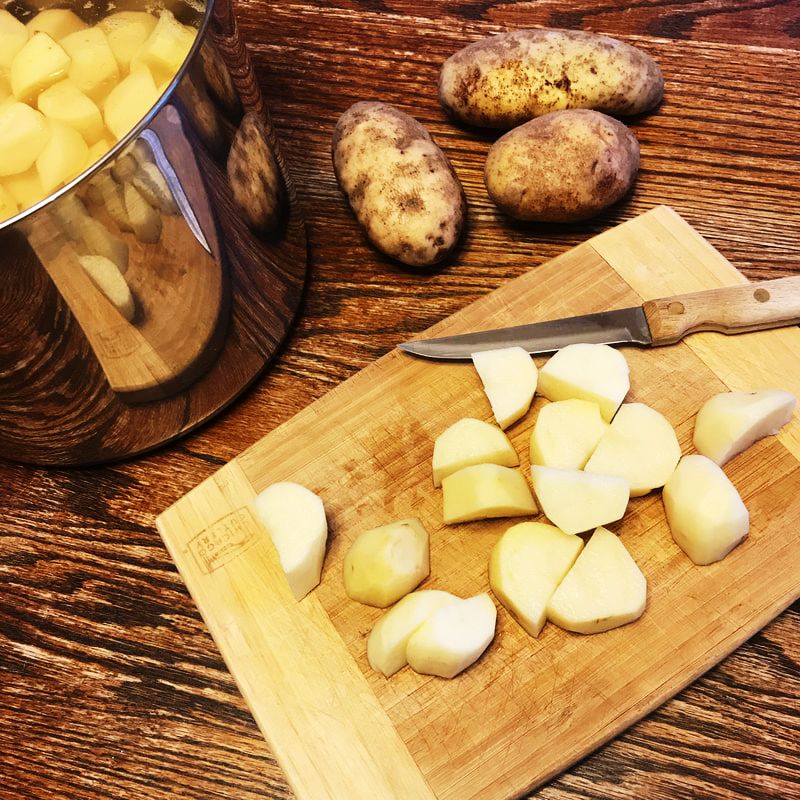
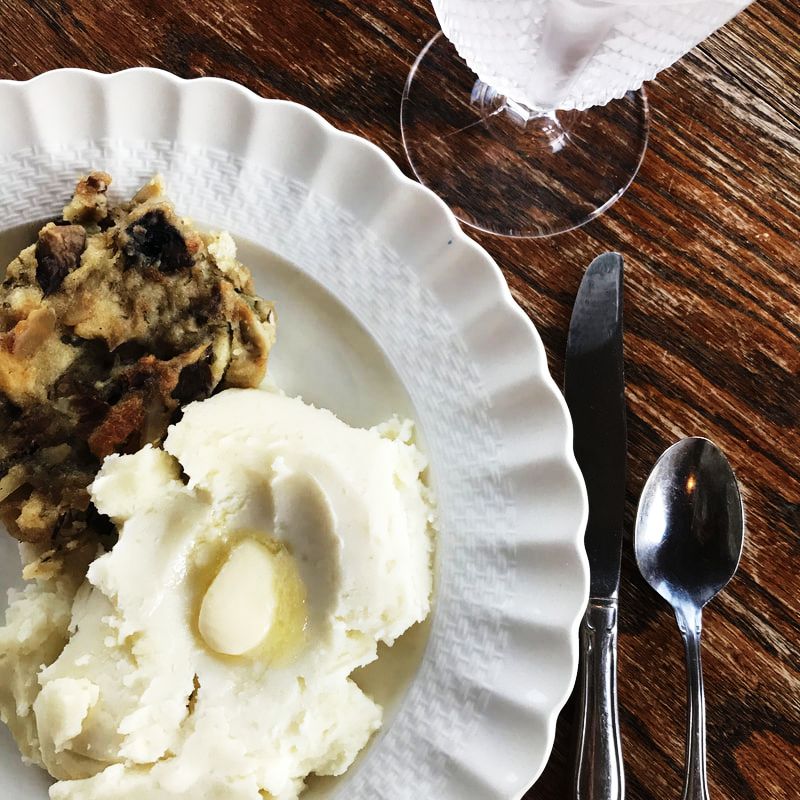
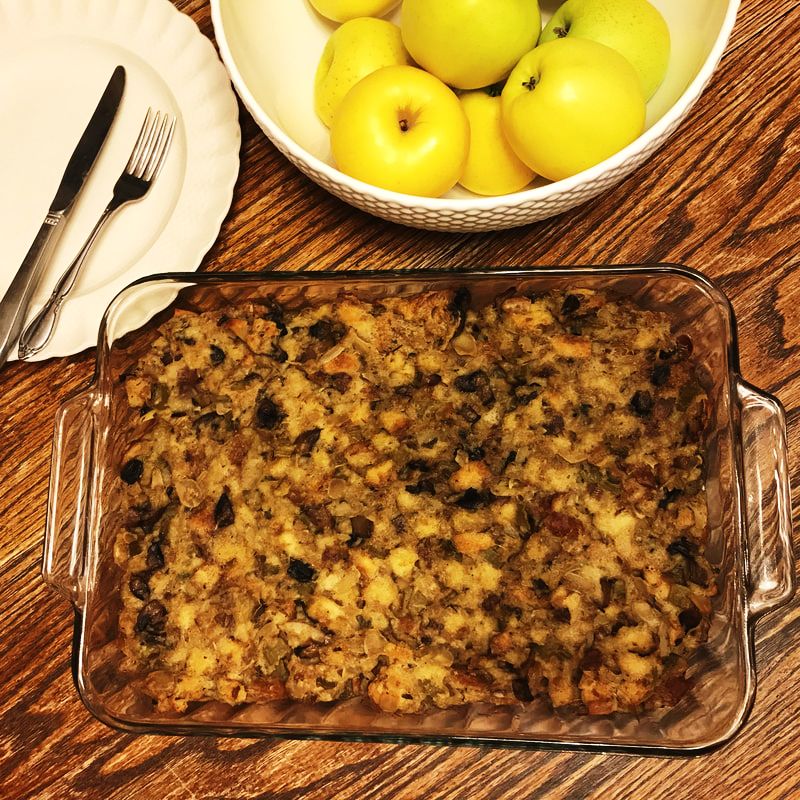
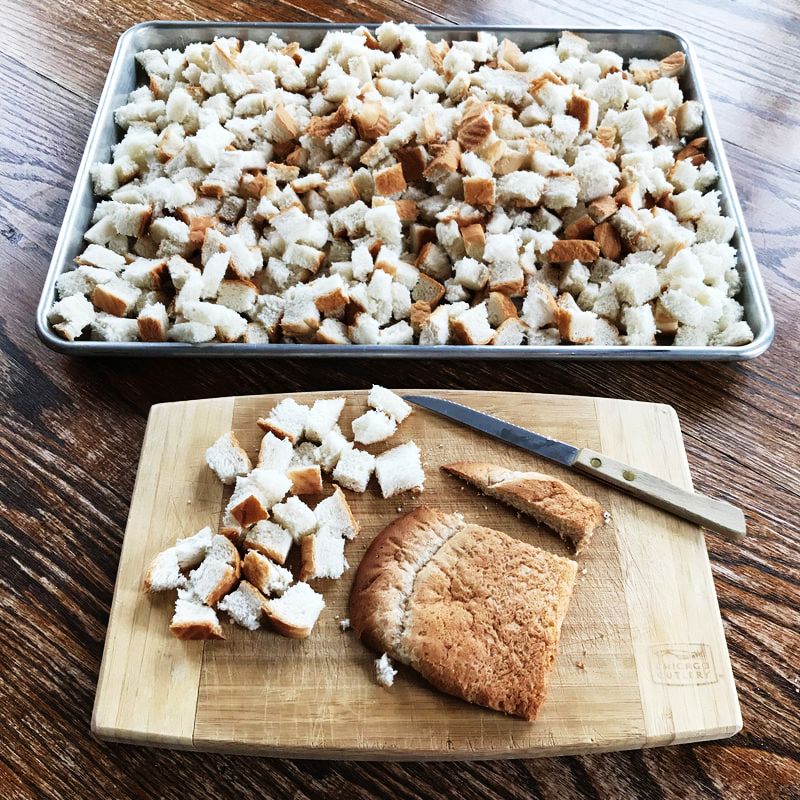
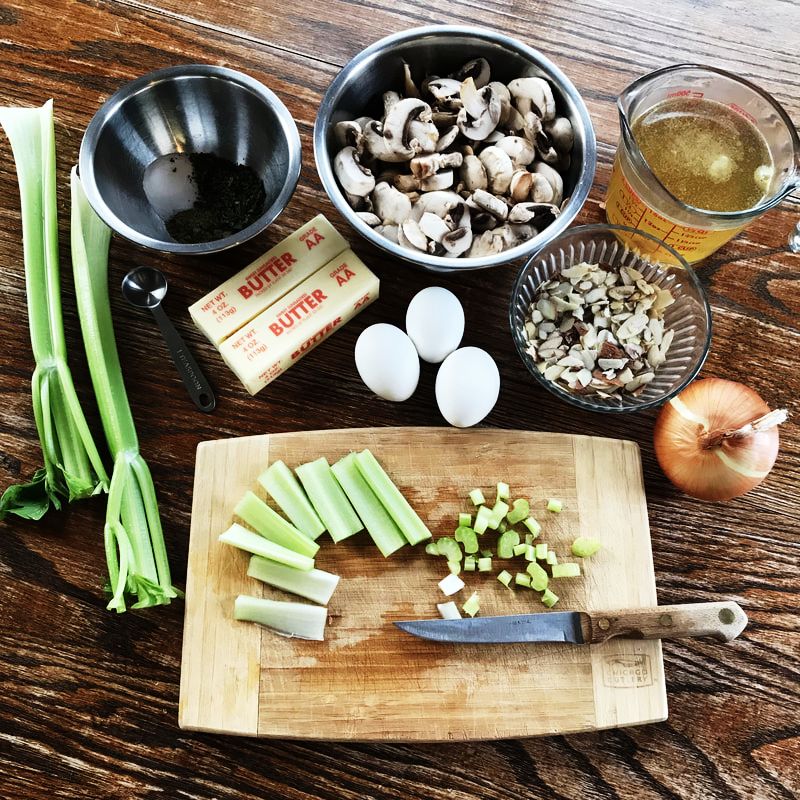
4 Eggs 4 tsp. Baking Powder 2 tsp. Salt 1 cup Vegetable Oil 2 cups Milk 1 and 1/2 cup Brown Sugar 6 cups Quick Oats The Recipe: Preheat oven to 350 degrees. Beat Eggs in a large mixing bowl. Add, mixing in thoroughly: Baking Powder, Salt, Vegetable Oil, Milk & Brown Sugar Stir in Quick Oats. Pour into a greased 9x13 inch baking dish. Bake at 350 degrees for 25 minutes. The edge of the baked oatmeal will turn a nice golden brown when its done. Serve with toppings of your choice as described above. If this recipe is too large for you, reduce all the ingredients by 1/2 and serve in a 8x12 inch baking dish. Cooking time should be similar. It all started with a few dilemmas: How can I provide a hardy home cooked meal while on a family vacation and avoid spending what we don't have at a sit down restaurant or spending all my vacation time cooking. Solution: Make time meal ahead of time, freeze, thaw, bake, serve! How can I provide a satisfying meal to one family that has both meat eaters and veggie lovers? Solution: Make the same meal with both options! How can I provide a huge meal at a large family reunion and avoid that crowded kitchen with way too many cooks? Solution: Make the meal ahead of time, freeze, thaw, bake, serve! This recipe has been tweaked and refined over the years to solve these dilemmas. We found that an affordable rental or AirBnB was the way to go for our family of as many as 6. So the kitchen is there, right?! Problem is, I don't want to cook on vacation! (Hear a lot of whining.) So my husband Keith suggested I make my amazing lasagna, freeze it, stack it in a large cooler and hit the road ready. We did and the idea has definitely been a hit! So then there was what to do about so many food preferences in one family. I worked with this recipe to hit a variety of preferences from the meat lovers to the veggie lovers. Everyone appreciates that I thought of them when I make this meal. And then there was the massive family reunion need. This recipe has been quadrupled to serve a large crowd of 50 or so hungry relatives. It was such a big hit the first time I brought this meal that...you guessed it...I have to make it at every reunion! Recipe: Brown in a skillet and drain: 1 1/2 lbs Hamburger Half of a Medium Sized Onion, chopped If you would rather have 2 pans of meat lasagna, double this portion of the recipe and omit the next section. Saute in a separate skillet until veggies are soft: 1 Tbsp Olive Oil Garden Vegetables (I used chopped mushrooms, sliced yellow squash, the other half of the above onion diced and two handfuls of baby spinach. This was a great combination but use what you have on hand.) If you would rather have 2 pans of veggie lasagna, double this portion of the recipe and omit the first section. Fill large pot with water and add 1 Tbsp oil and a few dashes of salt. Add and boil 16 oz. Lasagna Noodles. Drain. Combine in a large bowl: 48 oz. Tomato Juice 4 Tbsp Brown Sugar 2 Tbsp White Vinegar 3 tsp Salt 4 tsp Leaf Oregano 1 tsp Garlic Powder Divide in half between two above skillets (one with meat and the other with veggies). Cover both skillets and simmer on low for 20 minutes. Dissolve and add to two sauces above, dividing evenly between the two: 4 Tbsp Corn Starch 2/3 cup Water Have ready: 24 oz. Cottage Cheese 4 cups your favorite Shredded Cheese (We like a mixture.) 1/2 cup Parmesan Cheese 1 Tbsp Parsley Flakes In two greased 9 x 13 inch baking dishes, layer: 1. Noodles 2. Meat Sauce in one, Veggie Sauce in the other 3. Cottage Cheese (I put this on in globs and then spread with a fork.) 4. Shredded Cheese There will be three layers. In the top layer skip the meat sauce and the cottage cheese. Sprinkle Parmesan and Parsley on top. (I usually reserve a little bit of sauce for the top edges to make sure all the noodles are submerged and don't get dry on the top.) Bake at 350 degrees for 30 minutes. Allow lasagna to cool for 15 minutes before cutting into squares to serve. "The Best Mashed Potatoes" recipe are the only mashed potatoes I make and they are only for the holidays. This is because they are so loaded and fattening that no one should be eating them year round! The best part of this recipe is that these mash potatoes stay the exact consistency you made them once they are leftovers and refrigerated. My family LOVES holiday meal leftovers and this is just one of the reasons why. Secret ingredients: Sour Cream and Cream Cheese. Yes! That's what makes them so yummy, fattening and stay the same consistency after refrigeration. So if you are only making them for the holidays...load up! The Recipe: Peel, cube and cook on stove top: 5 lbs of Potatoes (around 20 small to medium sized potatoes) Drain water and reserve potato liquid. Mash potatoes with a mixer or blender. I use a hand mixer and a large mixing bowl. The trick to getting a nice mashed potato consistency without lumps is to: 1. Mash while the potatoes are still hot. 2. Add small amounts of your potato water gradually until the mashed potatoes become the consistency you desire. 3. Scrape the sides of your mixing bowl often while mashing the potatoes and blending in the water and other ingredients. Add to mashed potatoes while you are mixing in the potato water: 8 ounce package Cream Cheese 1 1/2 cups Sour Cream 3 tsp Garlic Salt 1 tsp Salt Pour the above Mashed Potato Mixture into a large Slow Cooker. Top with 2 Tbsp Butter or Margarine. Cover and Slow Cook on low for 4 hours. Lots of families have a favorite dressing or stuffing recipe. Of course, we think ours is the best. No, seriously! It is the best. And it is a standout because this recipe has a special ingredient that is not often added to dressing...sliced almonds! This unusual touch gives our dressing a lovely and unique flavor. Even those who don't usually go for nuts love it. (Unless your allergic, then just skip recipe all together.) The other change up I have from most dressing recipes is that I don't add sage. We just don't prefer it. Plus the almond flavor mixed with the rest of the ingredients is far superior to sage flavoring. Our Favorite Dressing can be made in a slow cooker or baked in your oven...whichever works best for you. We typically enjoy this dressing for our Thanksgiving and Christmas meal! The Recipe: Melt Butter and Saute together: 3 sticks Butter or Margarine 3 stalks Celery, finely chopped 1 medium sized Onion, finely chopped 1 cup Sliced Almonds 12 ounces mushrooms 2 teaspoon Parsley Flakes 2 teaspoon Salt 1 teaspoon Poultry Seasoning Cube 1 loaf of Bread (This could be done in advance. The dryer the bread cubes, the better.) Toss together thoroughly in a large bowl: Bread Cubes All the sauteed mixture from above 3 Eggs, beaten About 2 cups Chicken or Vegetable Broth (Mixture should be wet but not sitting in liquid.) Place the final mixture into a Slow Cooker. Cook on high for 45 minutes and then on low for 3 hours. OR Place the final mixture into a 9 x 13 pan. Cover with tin foil and bake at 350 degrees for 30 minutes. Uncover and bake for another 10 minutes until golden brown. Enjoy!
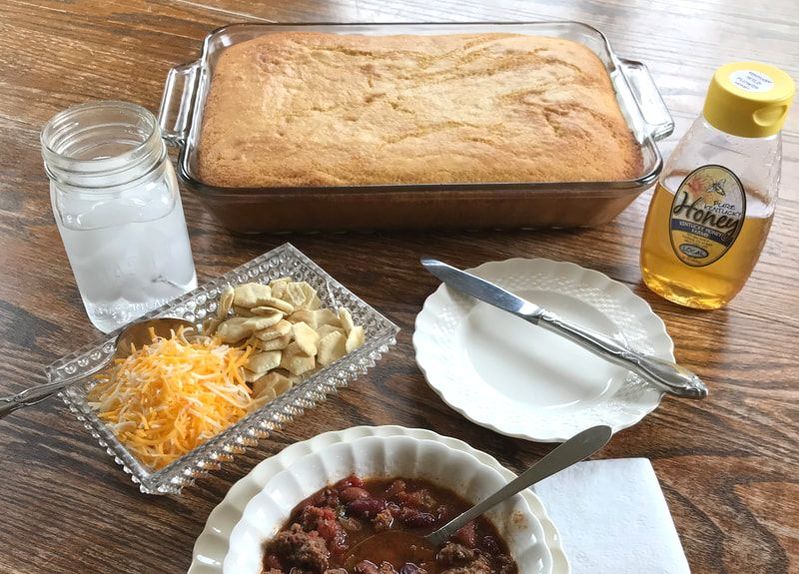
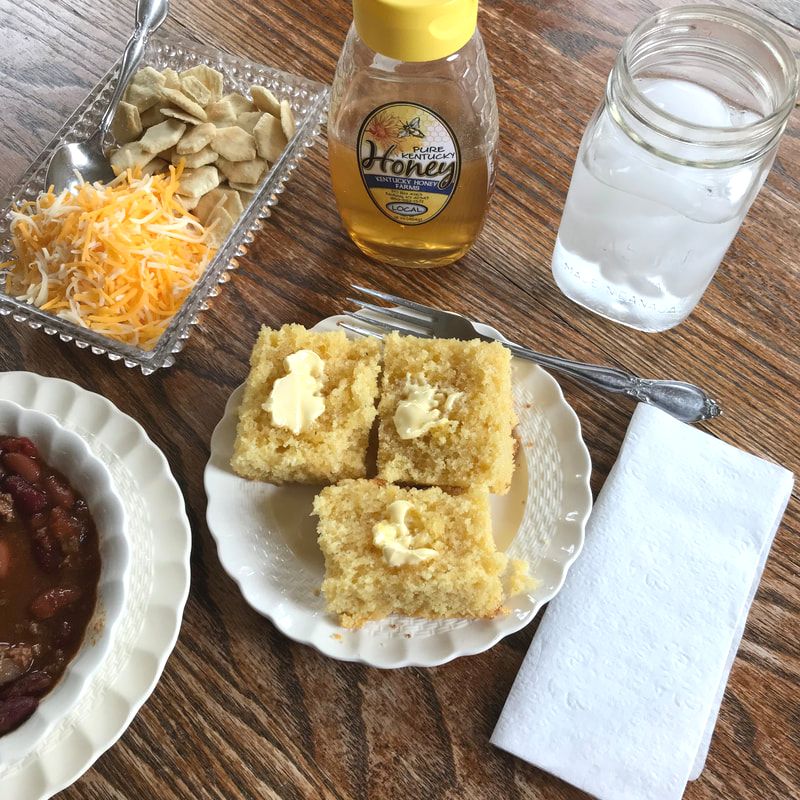
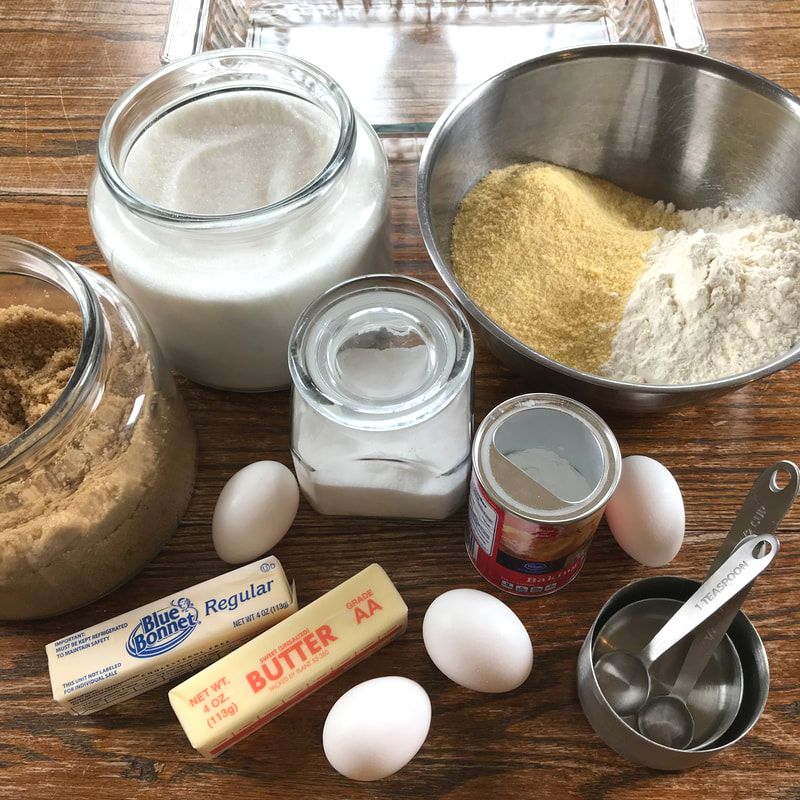
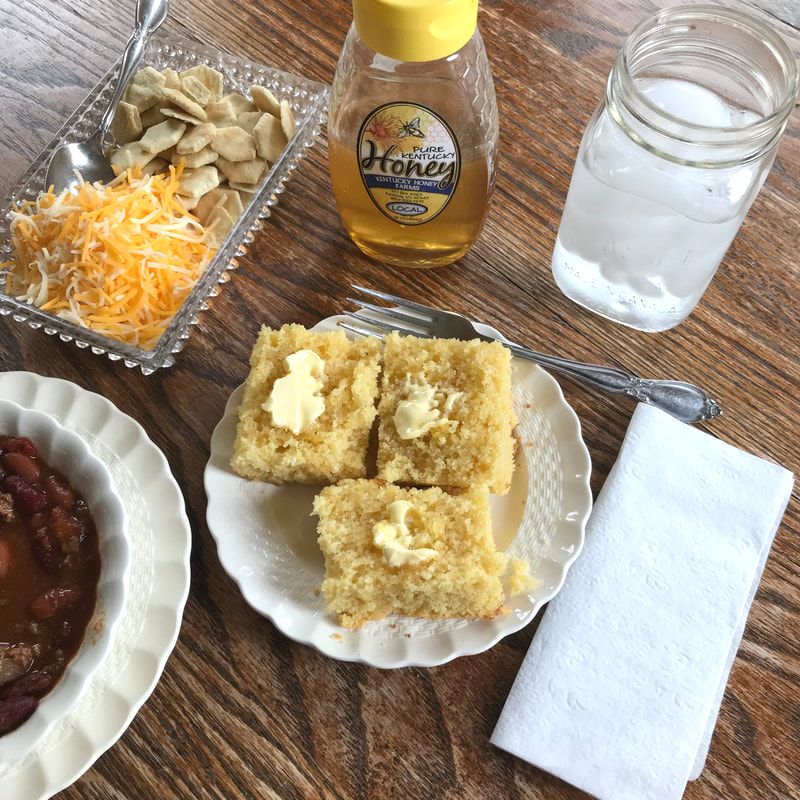
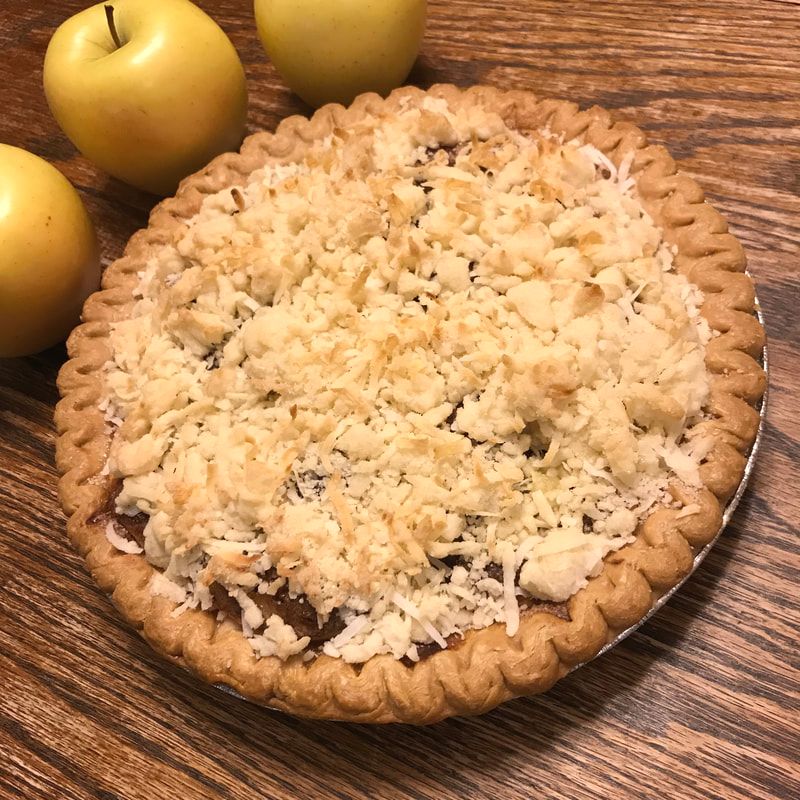
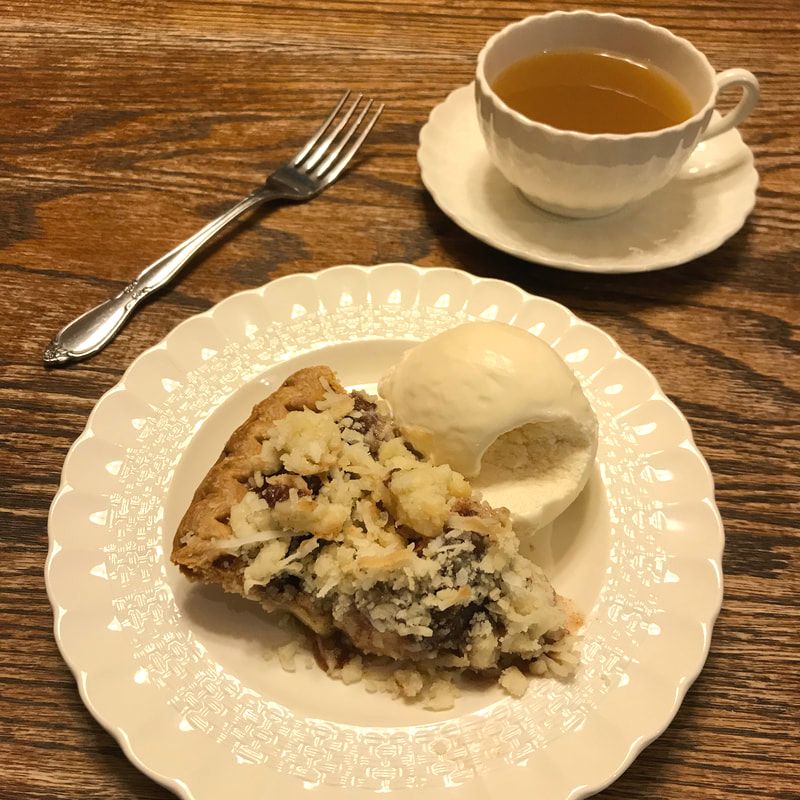
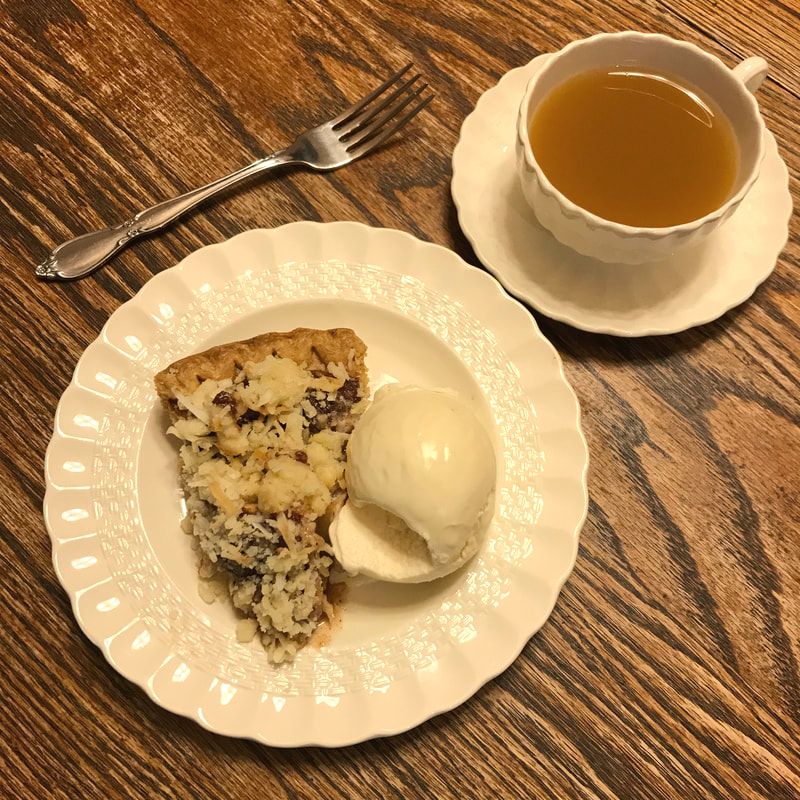
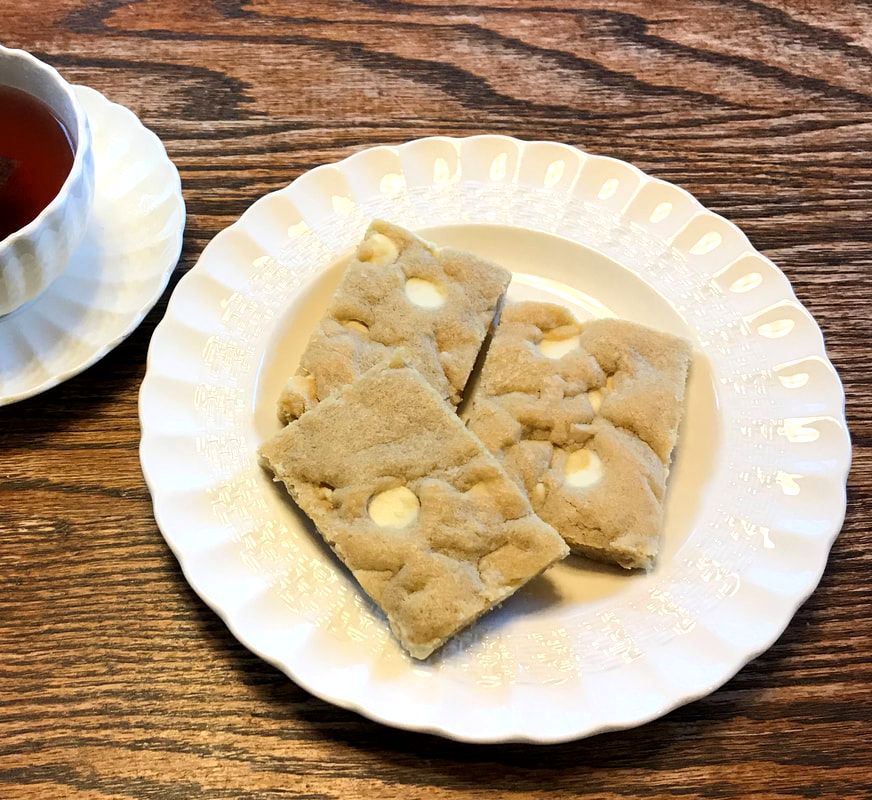
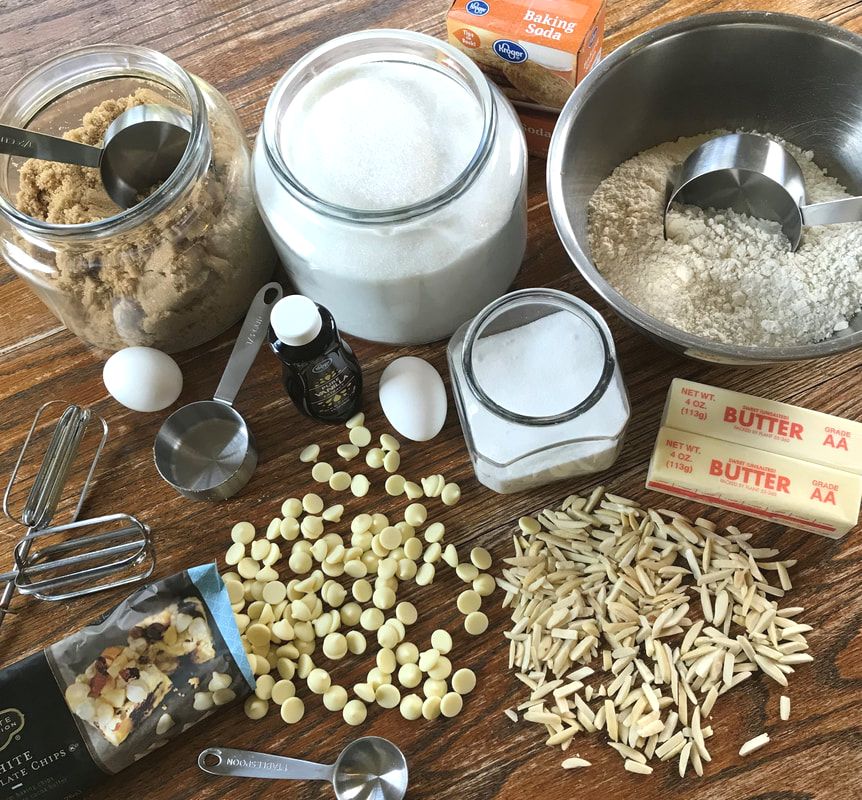
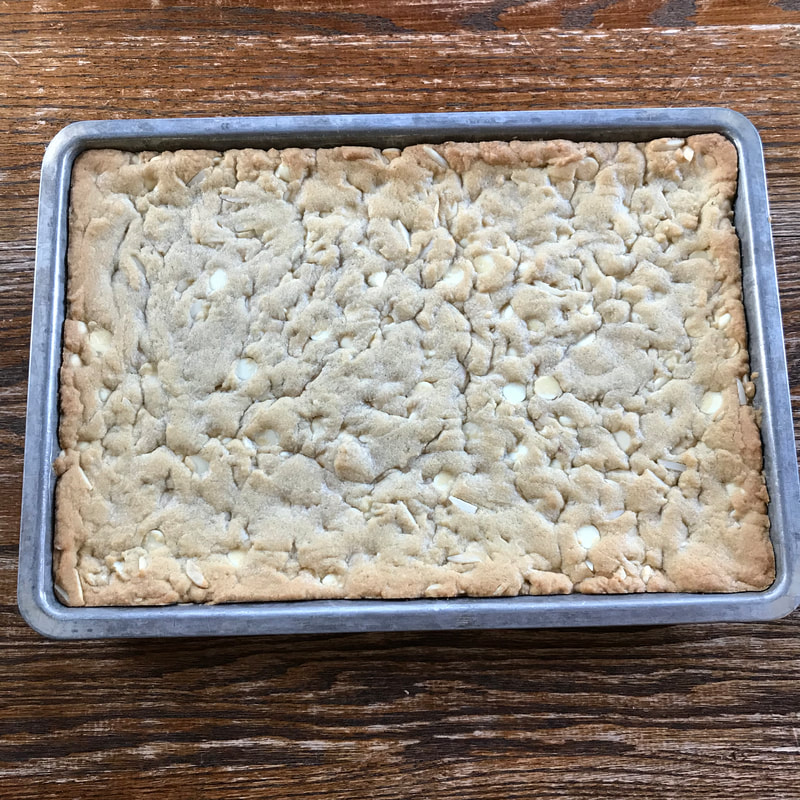
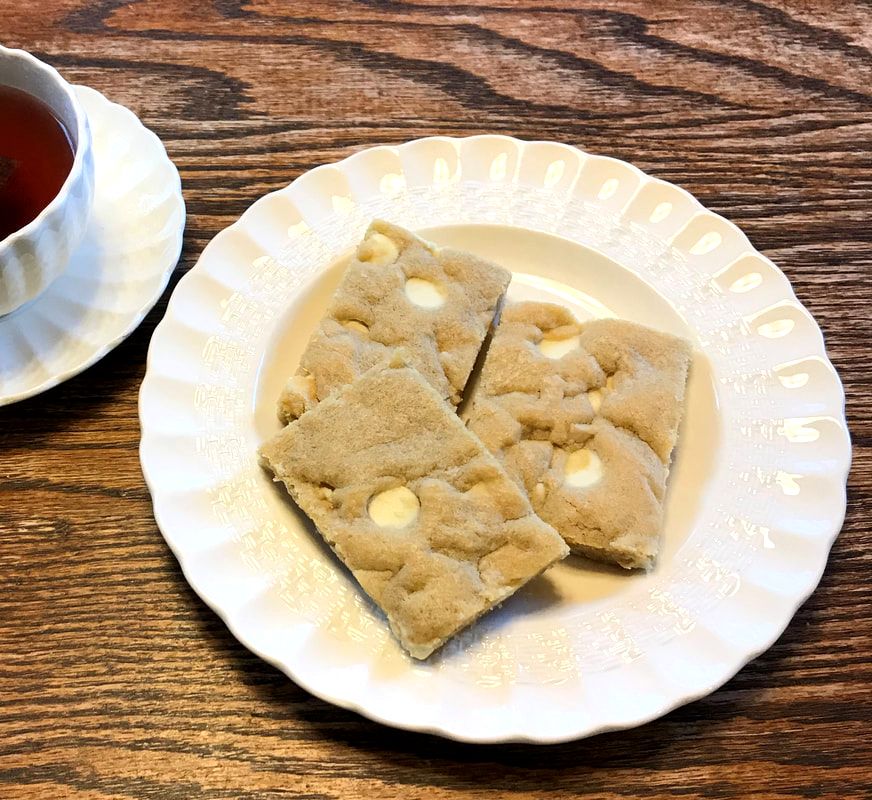
If you are used to the savory style white cornbread you eat along side soup beans, this recipe will open your taste buds to a whole different dimension. I'm not necessarily saying "better" here but completely different. First off, Sunshine Cornbread is sweet and this puts it in another category as far as breads go. Second, it's cake like and made from yellow cornmeal so the appearance sets it apart. From my early years and also for our children growing up, this recipe is cornbread. My husband, on the other hand, grew up in Appalachia with the savory white cornbread served with soup beans. So I am guessing this recipe was birthed out of my northern Mennonite roots. Where ever it came from, Sweet Sunshine Cornbread is best with a dab of butter and topped with local honey. We do eat it with soup or chili but I also like it for a quick, light breakfast. In fact, leftovers, if there are any, become breakfast. So it's duel purpose! The Recipe: Preheat over to 350 degrees. Cream together: 1 cup White Sugar 1 cup Brown Sugar 1 cup Butter or Margarine Beat in: 4 Eggs Add dry ingredients alternately with milk: 1/2 teaspoon Salt 2 Tablespoons Baking Powder 2 cup Yellow Cornmeal 2 1/2 cups Flour 2 cups Milk Pour into greased 9x13 inch pan. Bake at 350 degrees for 45 minutes. (This recipe can also be made by reducing all the ingredients by half and baking in a 9 inch square pan. Decrease cooking time to 35 minutes.) I'm not sure where my mother got this recipe but has been a favorite of mine since childhood. I imagine the "dutch" in the title is referring to "Pennsylvania Dutch" given her Mennonite roots. Coconut Dutch Apple Pie really takes your traditional apple pie to a new level as the topping is exceptional. Enjoy! The Recipe: Preheat oven to 425 degrees. Peel and slice 4-5 lunchbox size Golden Delicious (sweet) or Granny Smith (tart) apples and place in your favorite 9 inch unbaked pie shell. (We prefer Wick's brand unbaked pie shells.) Set aside. Combine: 2 Tablespoon Flour 1/2 cup Sugar 1/8 teaspoon Salt 1 teaspoon Cinnamon Pour over apples in pie shell. Sprinkle 1 Tablespoon Lemon Juice over pie contents. Dot with 1 Tablespoon Butter or Margarine Bake at 425 degrees for 10 minutes and then reduce heat to 375 degrees and bake for another 45 min. (I often cover the outer rim of the pie crust with tinfoil to keep it from getting to dark during baking.) While your pie is baking, Combine: 1/4 cup Sugar 1/2 cup Flour 1/4 cup melted Butter 3/4 cup Unsweetened Coconut Sprinkle over baked pie. Return to oven to bake 8-12 minutes or until coconut topping is toasted. Best when served on a fall day and topped with whipped topping or vanilla ice cream along with a hot cup of steamy apple cider! This is our family's "go to" basic chocolate chip cookie recipe. To begin with, when my children were elementary school age, I often threw together a batch of cookies for a birthday as they were expected to bring a snack for everyone. I mean, what could be better than a homemade chocolate chip bar cookie or two in a little baggie! You can't buy this at a store or bakery. Why is it our favorite? A. They taste amazing! B. They are bar cookies, not drop cookies. This means no messing with that extra bit of cookie dough that, no matter how hard you try, won't fit on one cookie sheet. So then you grease and use an extra, burn the remaining four cookies and let the mess soak in your sink until you scrub burnt cookie off...Have you been there?! C. This is a very versatile recipe. I can add white chocolate chips and call them Blondies (pictured). I can use milk chocolate chips for traditional chocolate chip cookies. Or I can use Christmas colored M&Ms to make holiday cookies. To further change it up, I can add almonds, pecans or walnuts to any of the above scenarios. The Recipe: Preheat oven to 350 degrees. Cream the following ingredients together: 1 cup butter or margarine 3/4 cup white sugar 3/4 cup brown sugar 1 teaspoon baking soda 1 teaspoon salt 1 teaspoon vanilla Beat 2 eggs into the above mixture. Then, gradually add in 3 cups flour as you stir by hand. (The dough will be stiff and a little difficult to stir by the time all the flour is added.) Finally, fold in an 11.5 oz package white chocolate chips. Optional: fold in 1/2 cup almond slivers. Spread into greased 10x15 inch jellyroll pan. Bake for 20 minutes at 350 degrees. The top of the cookies should be light golden blonde when you pull them out. Allow to cool slightly (if you can wait!) and cut into squares. |
|
